Edit Text
Settings
Due to technical reasons the appearance of text inside the editor can differ significantly from its appearance on the dashboard.
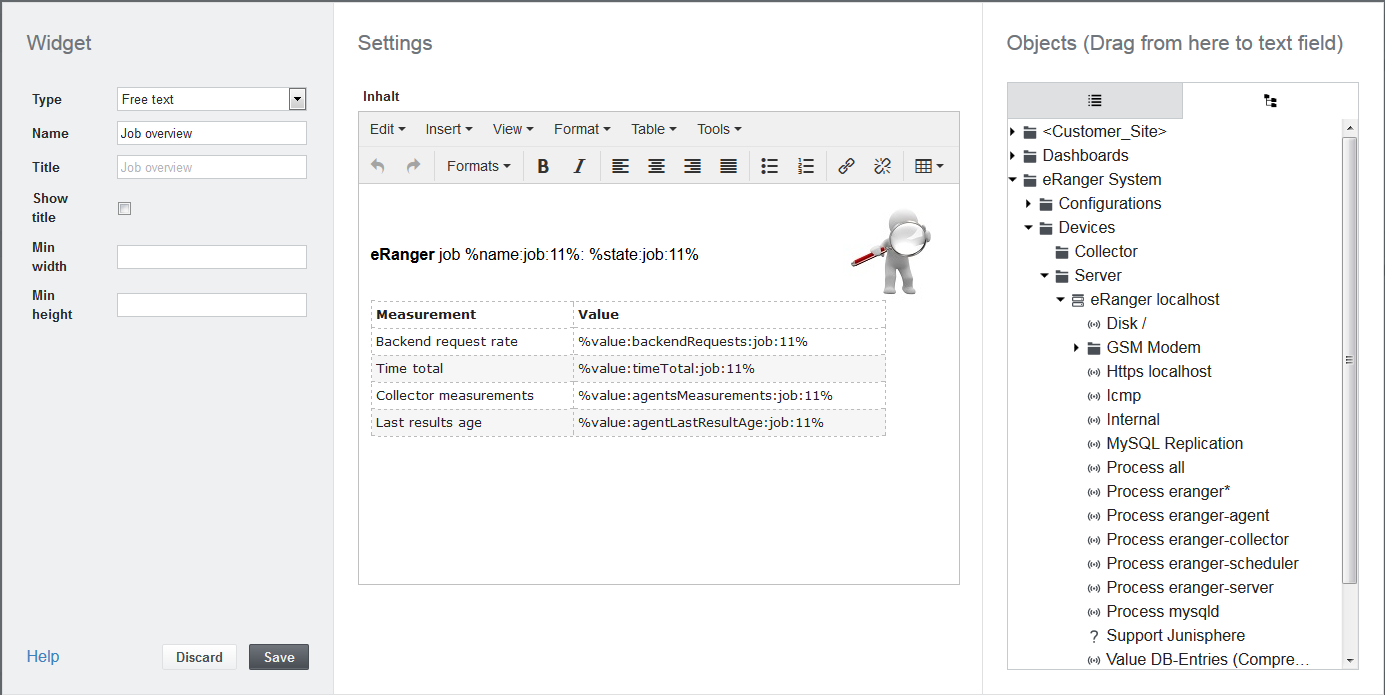
The free text widget provides a simple editor for formatted text, links and tables:
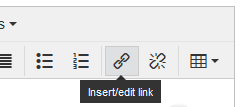
Tooltips are provided for quick info on widget features:
Insert tables
If advanced table features are required, please have a look at the tables widget.
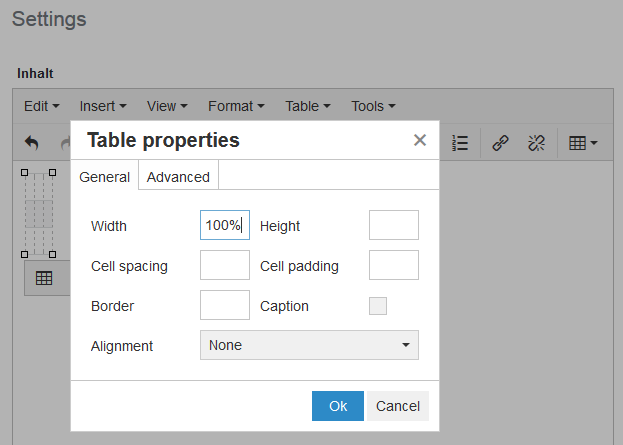
From the Table menu or the respective button on the toolbar, click Insert table and select the required number of columns and rows from the grid.

You may now format the table using the table-, row- and column-properties from the Table menu. In most cases, it will be a good idea to set the table width to 100%.
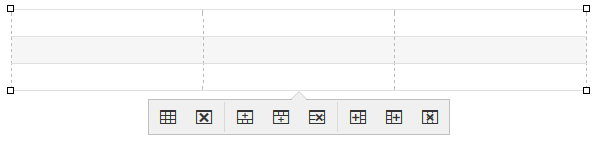
Add or delete rows or columns using the context menu that appears when clicking into the table area.
If a table was placed on the top line of the widget, it might be difficult to insert other content before it later on. Open the Source code window from the Tools menu and insert <p></p> tags before the <table> tag if this is the case.
Insert small images
Images (bitmaps) can be imported directly from the Windows Explorer by drag & drop.
This feature is not supported by MS Internet Explorer.
Although the size of an image is technically not limited, it is recommended not to use images larger than 50 kB as this might cause massive performance impacts on editing and viewing dashboards.
Insert links
- Select link text from the editor
- Click on the link button

- Enter form data
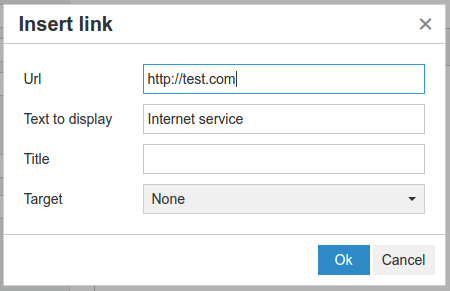
| Setting | Description |
|---|---|
| URL | Target URL. Relative and absolute URLs are allowed. |
| Text to display | Link Text |
| Title | Tooltip on mouseover |
| Target | Open the link in one of the following targets: |
Placeholders
Placeholders can be used inside the free text widget to replace URL parameters (e.g. %param:device_id%).
Also, eRanger objects can be added using drag & drop from the object list or tree in the editor:
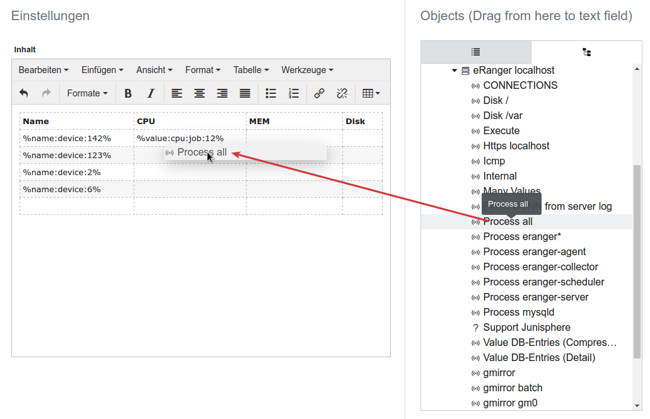
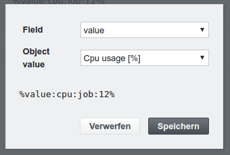
As soon as the object is placed in the content area, an overlay lets you choose the required property from a dropdown menu:
Show source code (Advanced)
An HTML source code editor is available in the tools menu.