Agent Fetchfile
Function | Transfer up to 4 files or directories from the target system to the SKOOR Engine collector (Windows only) |
|---|---|
Alarming | Transfer time, Transfer rate |
Agent Fetchfile detail
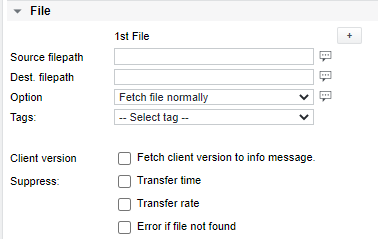
Agent Fetchfile parameters
Parameter | Description |
|---|---|
Source filepath | File or directory to fetch including its absolute path. This path or file destination must be allowed in the Filetransfer Options tab of the remote WinAgent configuration. A directory name can also be given. In this case, the directory contents are automatically compressed into a ZIP archive and the Dest. filepath parameter should be given as the name of the resulting ZIP file. No wildcards are allowed. |
Dest. filepath | Destination filename (relative path). The file will be created below the parse directory of the collector configured in the job's Job Execution section (the default parse directory is /var/opt/run/eranger/collector/tmp). To fetch the file to a subdirectory of the parse directory, the subdirectory must be created manually first and be given write permission for the eranger user. If ZIP, Extract content is selected as file transfer option, specify a destination directory to extract the ZIP contents to on the collector. |
Option | Fetch file normally: This transfers the file directly. ZIP: fetch compressed, extract: The file is first compressed into a ZIP archive on the remote machine, transferred to the collector, then unzipped to its Dest. filepath. This makes sense for large log files which have a much smaller file size when compressed. ZIP: Extract content: If a directory or ZIP file is selected, the content is extracted to the collector. In this case, specify a directory name as Dest. filepath. |
Client version | If this checkbox is set, the Values section will show the remote WinAgent's version in the Info message. |
Suppress Transfer time | By default, the time it takes to transfer the file or archive and the resulting average transfer rate is recorded to the database. |
Suppress Error if file not found | Instead of an error message (error code 9, “File not found”), an info message with the same content is displayed in the values section of the job |
The Tags dropdown list allows entering pre-defined variables into the fields above, e.g. $NAME$ for the name of the job.
Agent Fetchfile values and alarm limits
Value / Alarm limit | Description |
|---|---|
Transfer time | The time (in ms) it takes to transfer the file or archive. This value or alarm limit is only available if the corresponding Suppress checkbox has not been enabled. |
Transfer rate | The average transfer rate (in MB/s) of the file transfer. This value or alarm limit is only available if the corresponding Suppress checkbox has not been enabled. |
Error code | Generic job error code (see section Job error codes) |
Agent Fetchfile examples
Example 1 - Fetch a logfile
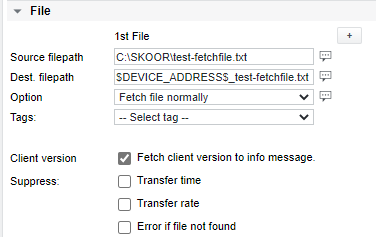
The Dest. filepath uses the pre-defined $DEVICE_ADDRESS$ variable which resolves to the address entered in the Address field of the job's parent device.
Output 1
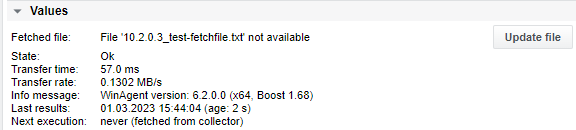
The above output shows the transfer details and also the remote WinAgent version. Executing the Agent Fetchfile job fetches the file to the collector but does not yet make it available to the Webinterface. To be able to inspect the fetched file, click the Update file button. This fetches the file from the collector to the webserver's fetchfile directory. The file can then be viewed in the browser by clicking the Fetched file link.
Example 2 - Fetch 2 files
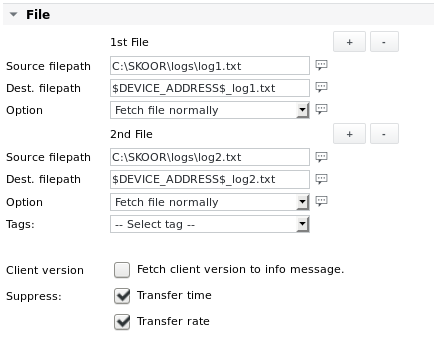
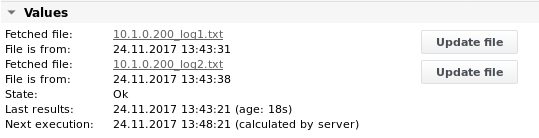
Output 2
After the file transfer has finished and after clicking both Update file buttons, the Values section looks like this: