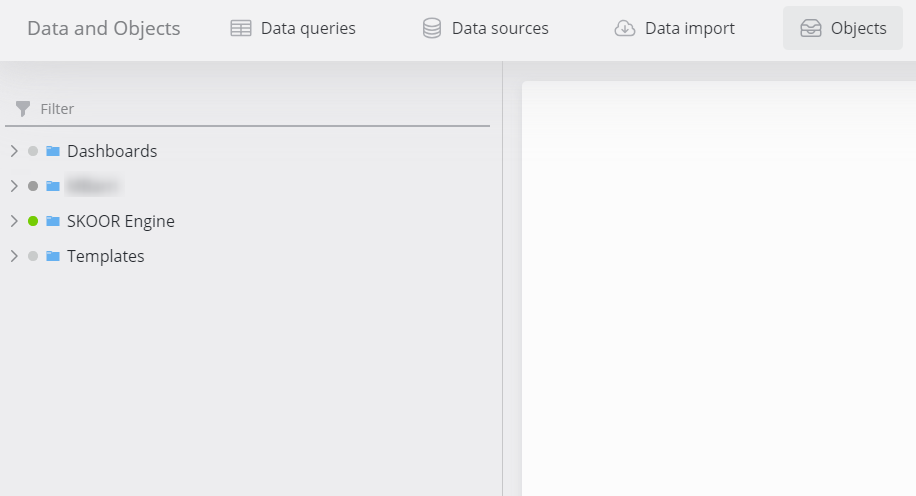
Objects
Access the SKOOR object tree to find objects, their state and values.
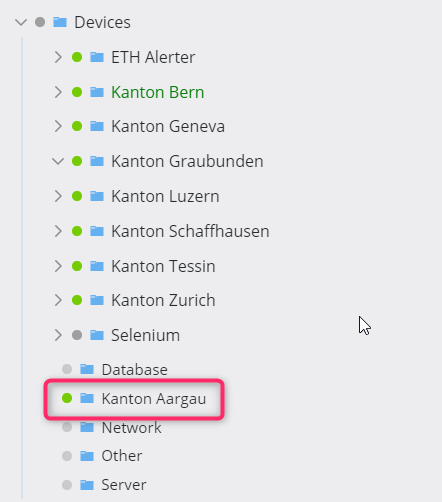
SKOOR Object Tree
This offers a tree view of all the available SKOOR objects, with the possibility to search directly
In the following example, the city Bern was searched:
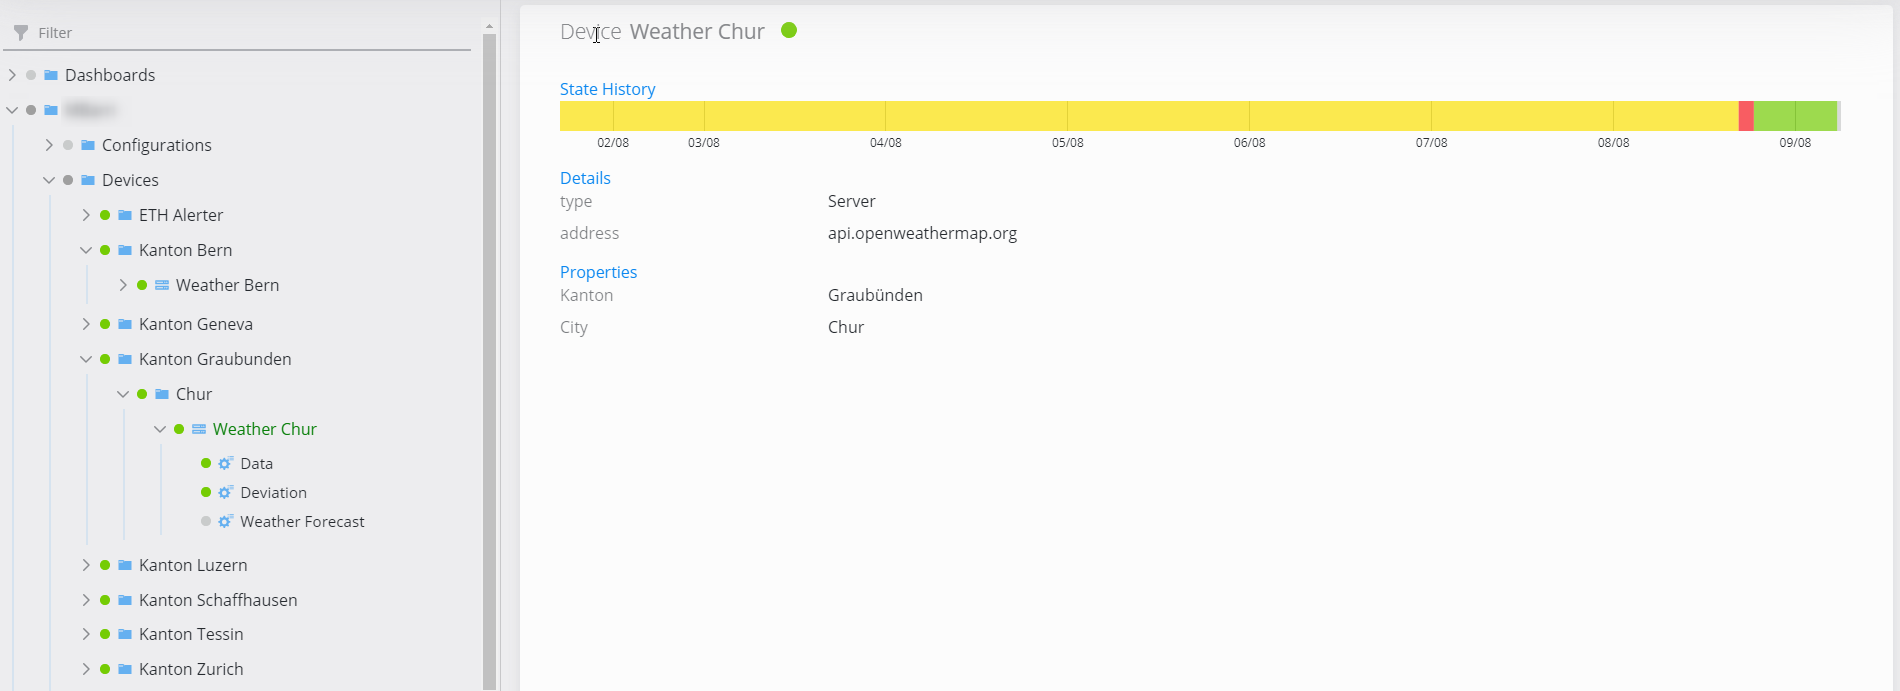
Object State & Value
Clicking on a specific object in the tree view will show its State history and parameter values:
Adding new objects
In the following example, a new Group, device, and job will be added to summarize the functionalities accessible from the Dashboard.
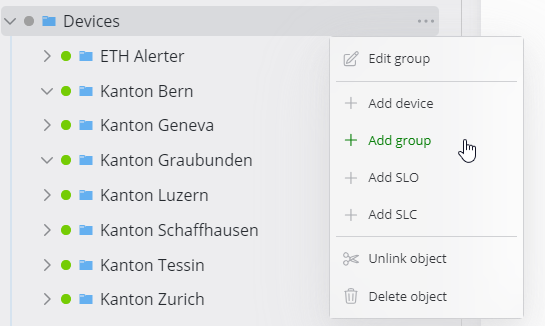
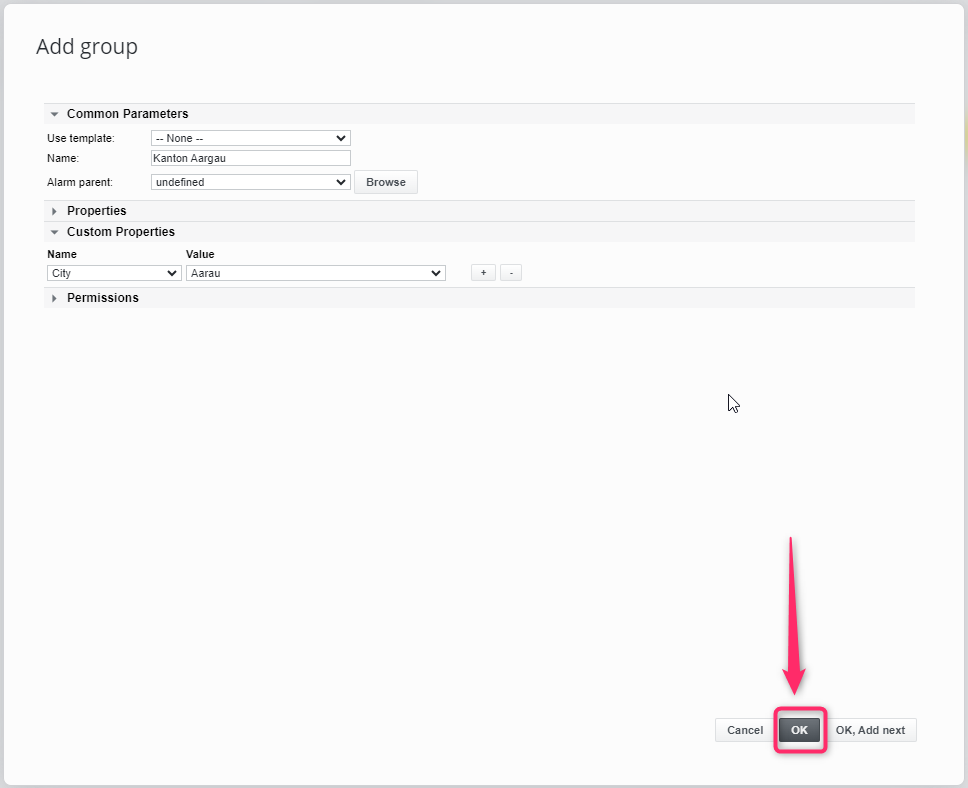
Add a new Group
Click Add group from the context menu of a specific group
Enter the values of the Parameters and the custom properties (if any exists)
Then trigger Ok on the lower right part of the dialog
The new group has been added successfully
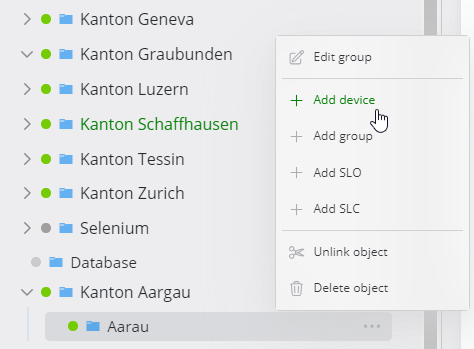
Add a new Device
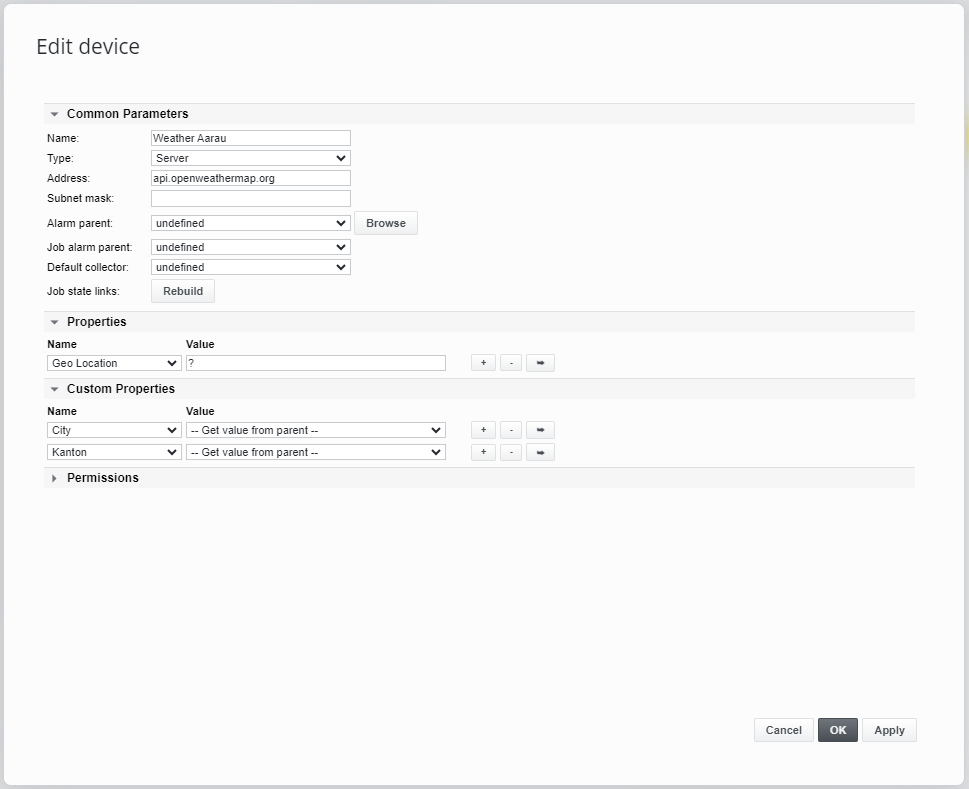
Using Add device to add Weather Aarau
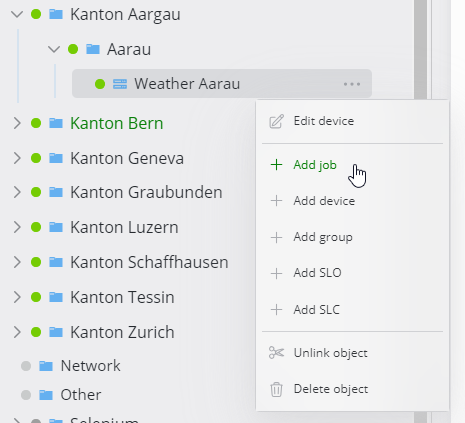
Add a new job
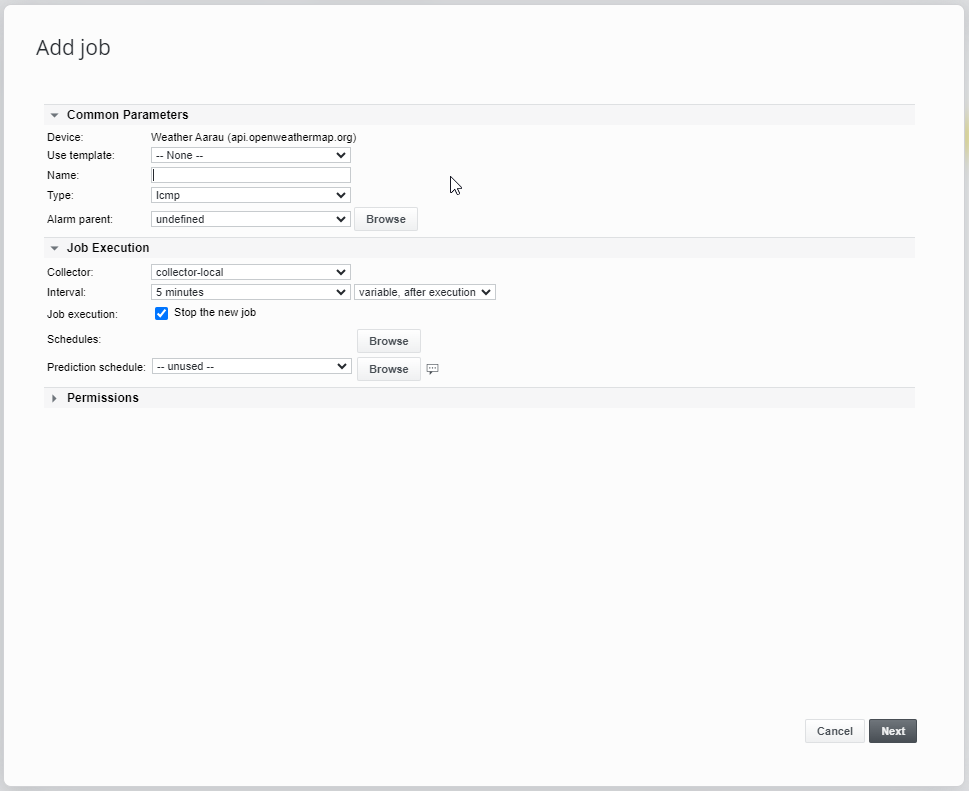
Using Add job to add weather data
For more details about the SKOOR Engine Jobs check Jobs on SKOOR Engine
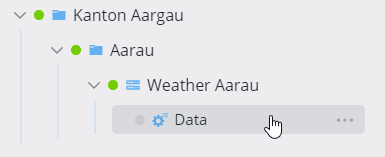
The List of created items looks as follows:
Now the nested Job can be started by selecting start job from the context menu of the Data job.
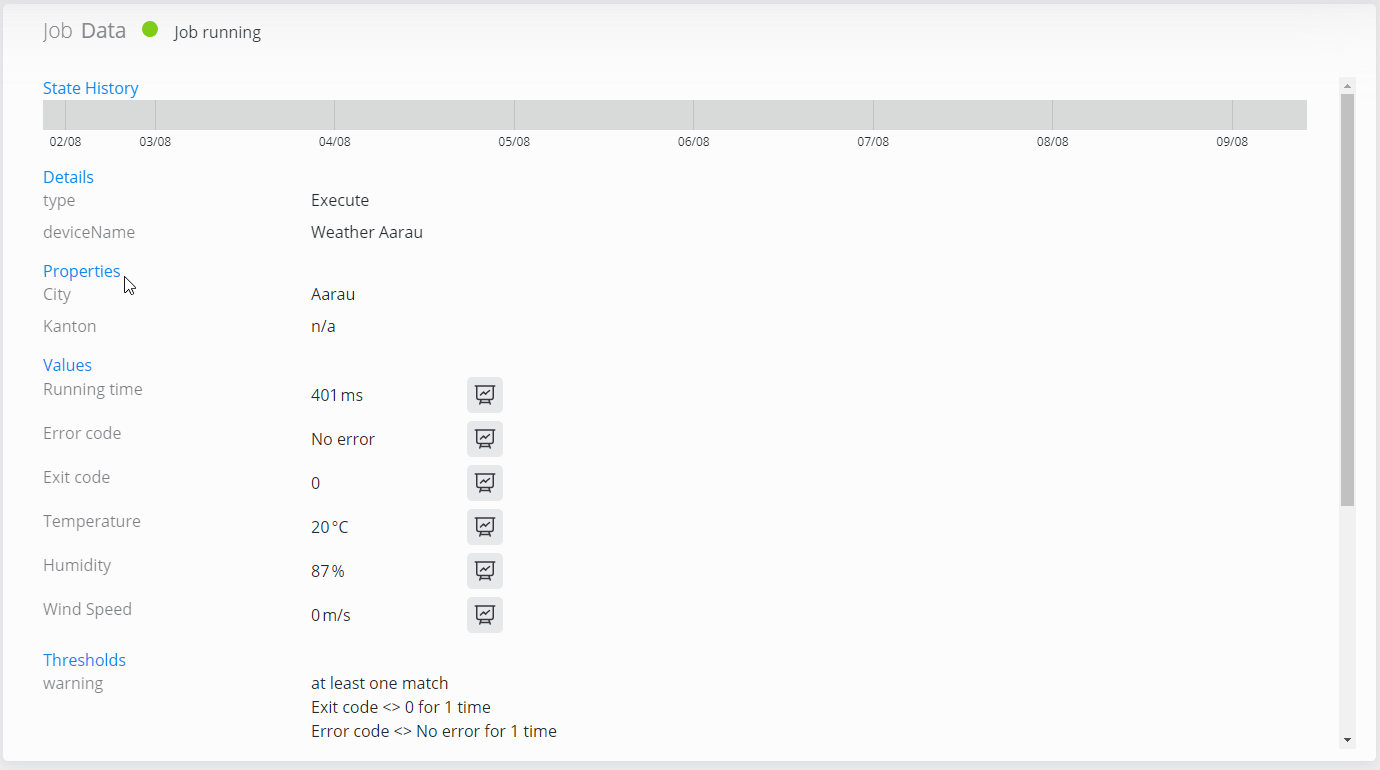
The final outcome of this job can be seen by clicking on the Job’s name:
Add a new SLO/SLC
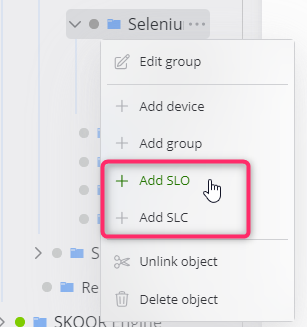
New SLOs (Service Level Objects) and SLCs (Service Level Controllers) can be created/maintained using the context menu.
(For further details check Add SLO, Add SLC )
Editing an Object
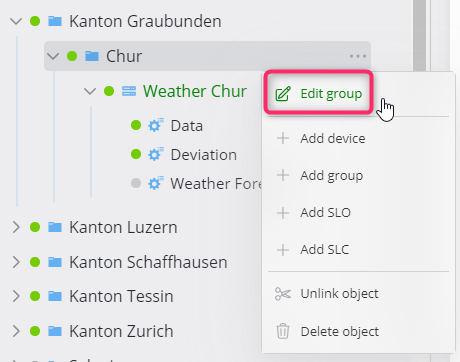
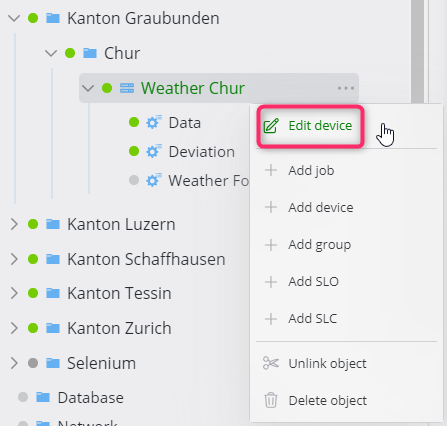
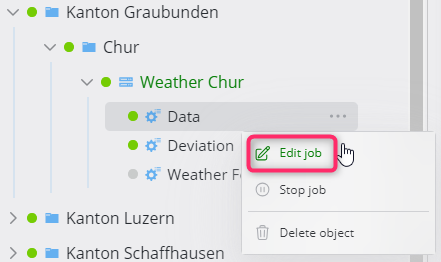
It is possible to edit a group, device or a job directly from the Dashboard
Click on the next to the name of a component to edit in the tree view and select the edit button
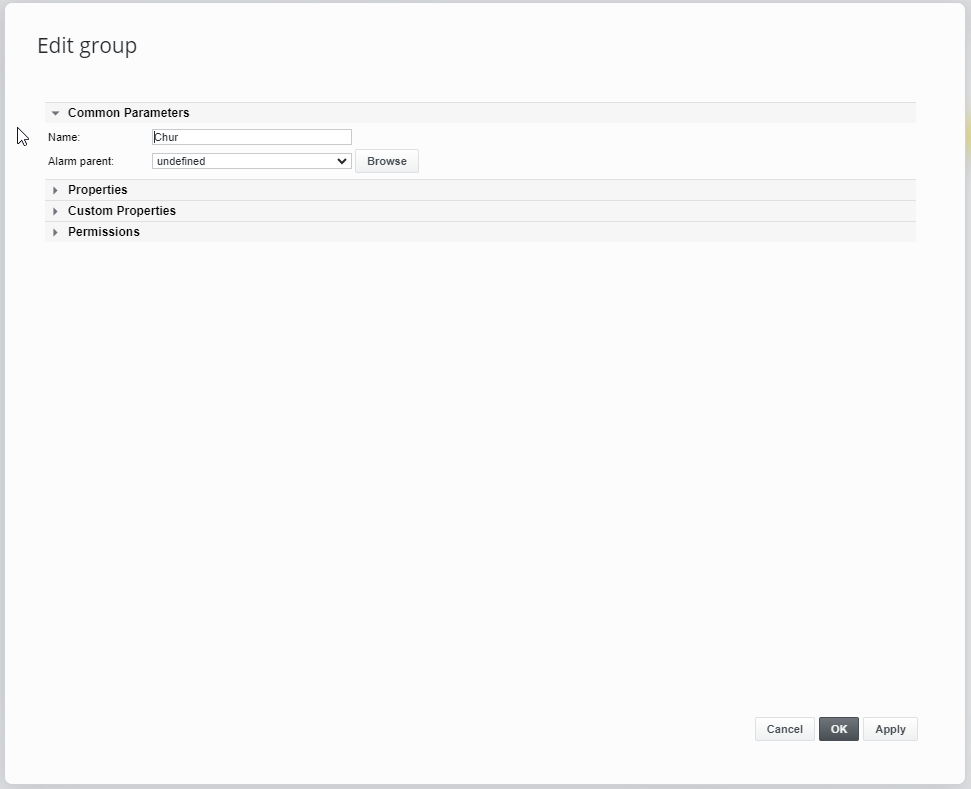
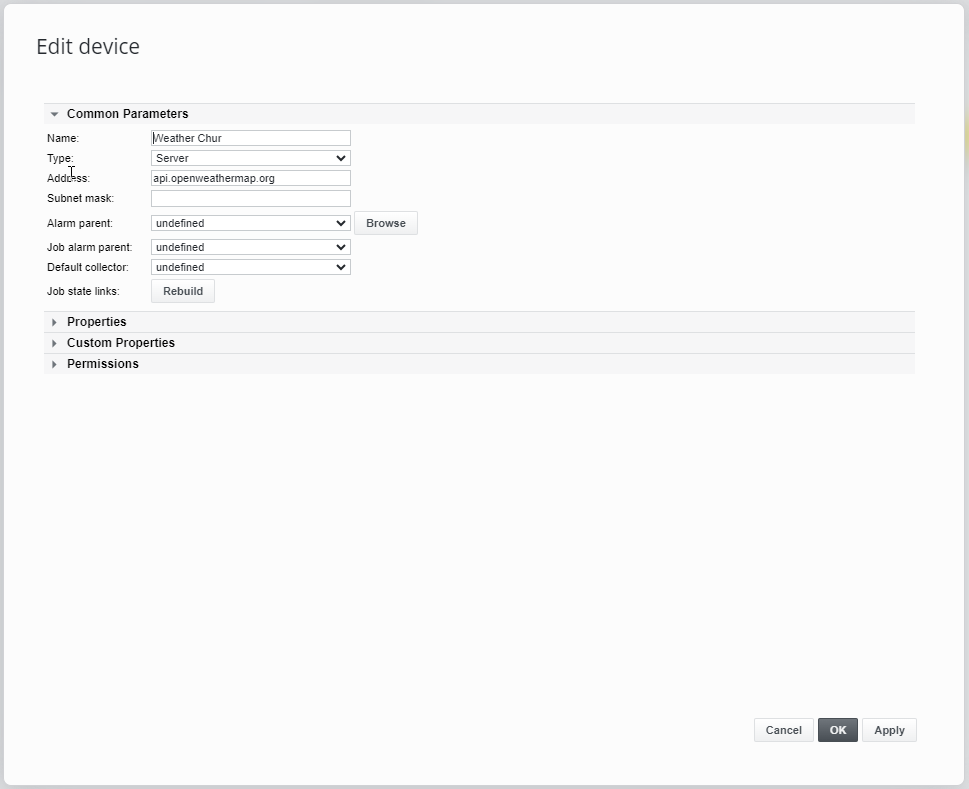
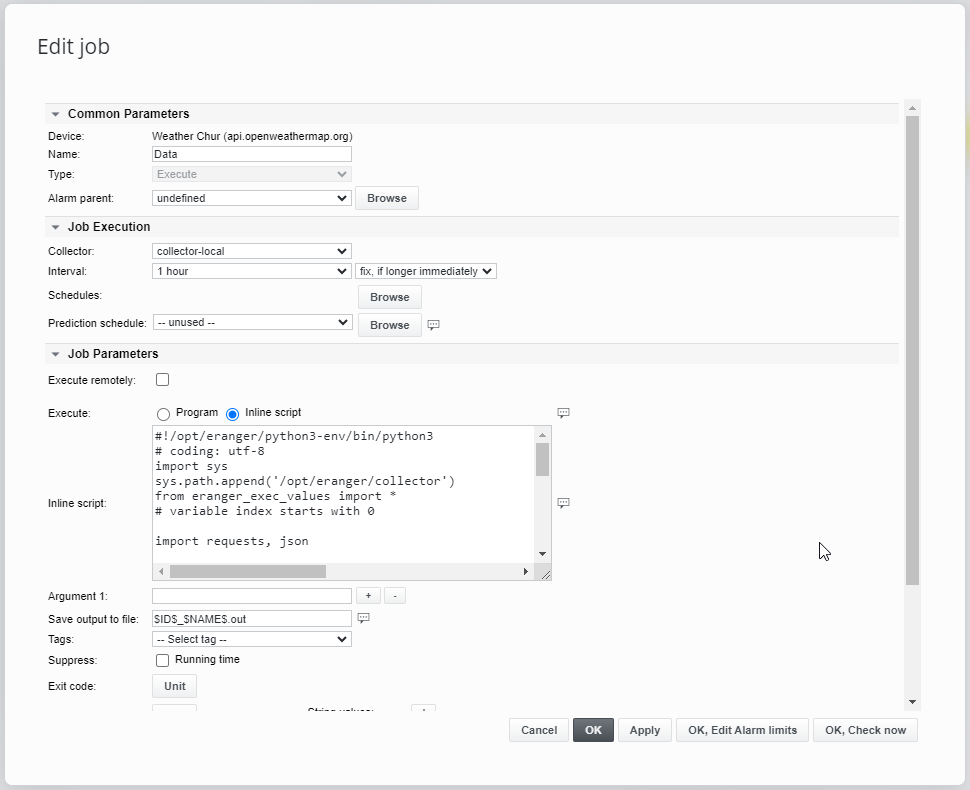
A dialog will pop up with the edit view from SKOOR Engine to the selected component, and this would respectively look like this
Delete an object
Click on the next to the name of a component to delete in the tree view and select the delete
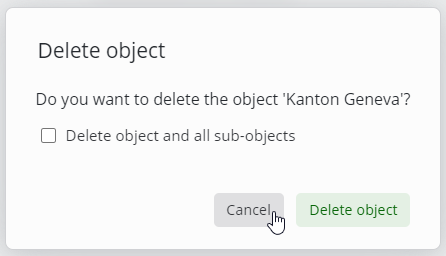
Control the propagation of the delete action using the flag Delete object and all sub objects
Confirm the deletion by clicking Delete Object
