Data Sources
Intro to Data Sources
Data sources can be configured to make database tables or views available in the SKOOR dashboards.
With SKOOR version 7.2, new features have been added to create and edit tables as well as table data.
MySQL and PostgreSQL databases are supported.
Create a Date Source
Only administrator users can create data sources
Click the + sign and add connection parameters under the general tab:
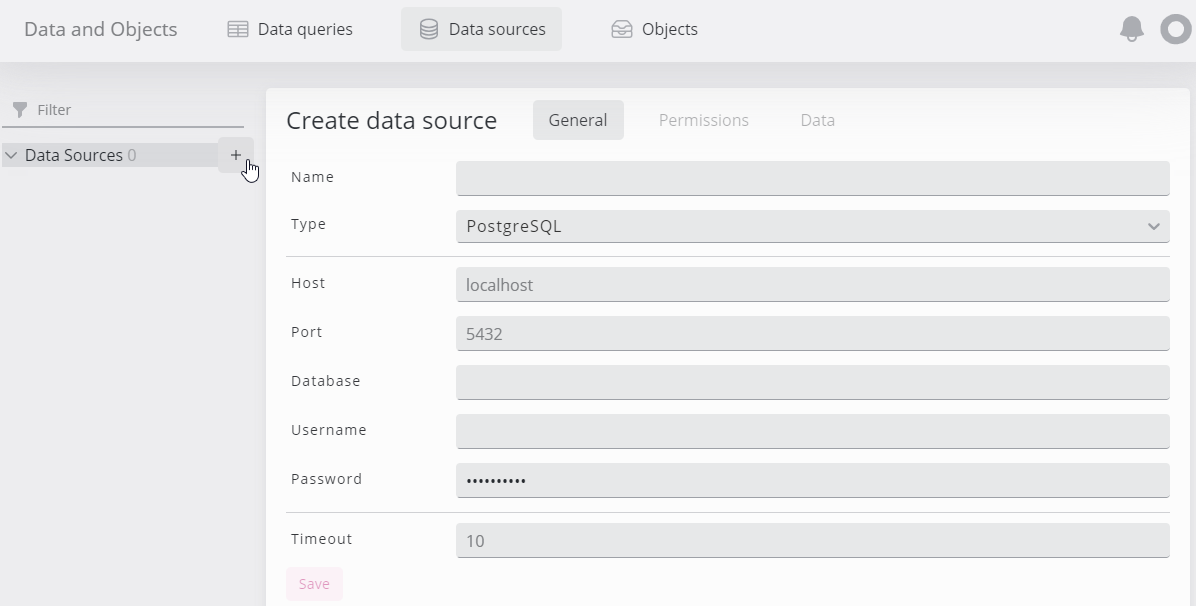
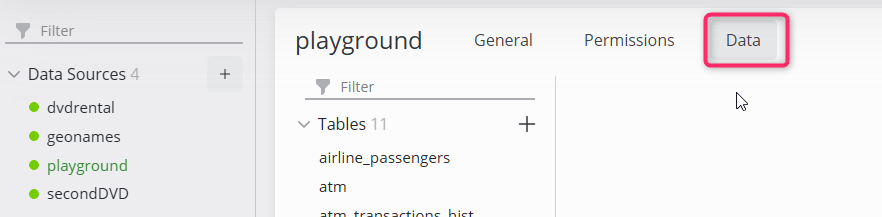
Click the Save button below the connection parameters to connect to the database. If the database is reachable, a green status icon appears together with a few tabs for further actions on this database:

The general tab can be used to update the Data Source’s name, connection parameters and timeout settings. Click Save to save those changes.
Define data scopes and write permissions
Only administrator users can define data scopes and write permissions
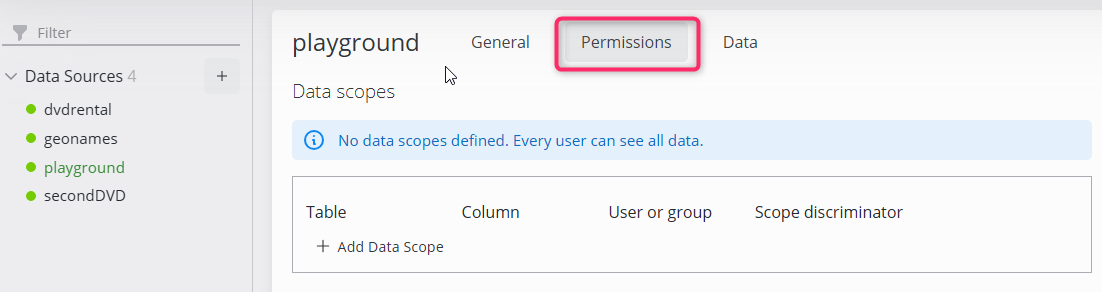
In the Permissions tab, users or user groups access to the data source can be configured.
Administrator users are allowed to read and modify all data from all tables
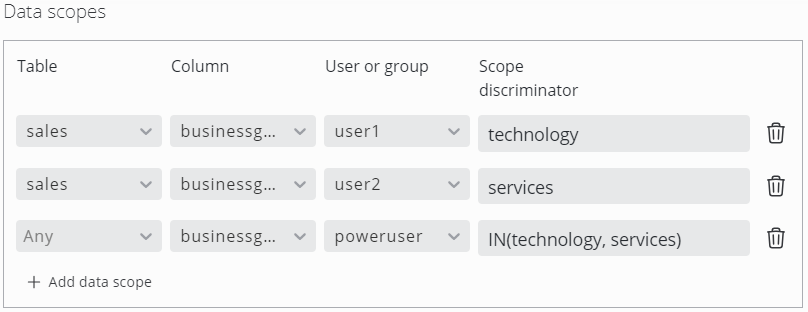
Data scopes
This section allows the definition of scopes for each user or user group. Only data that matches the scope is visible by the respective user or user group. This applies to the data preview in the data source section as well as to the dashboards.
Scope discriminator expressions can be plain string values or operators described on the data source query editor page.
Example expressions:
Expression | Description |
|---|---|
1234 | Matches all rows with column value equals to 1234. |
NOT(NULL()) | Matches all rows with non NULL column value. |
GE(0) | Matches all rows with column value greater equals zero. |
foo% | Matches all rows with column value starting with "foo" |
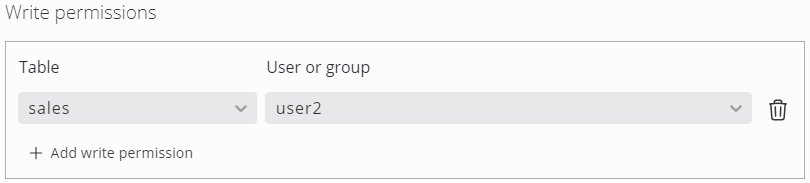
Write Permissions
In general, the following rules apply to the SKOOR user roles:
users with the editor role can read all data from all tables
users with the operator role can see no data at all
Define write permissions to
let users with the editor role edit data in selected tables
let users with the operator role read and edit data in selected tables
Preview a Data Source
In the Data tab, all tables, views etc. of the selected data source are visible. Operator users will only see tables as defined by write permissions.
Select an item from the groups at the left (e.g. Tables) to display its data. Click a column name to sort it or use the Toggle filters button at the right hand side to search for specific records.
Edit a Data Source
Create/Import a table
Only administrator users can create new tables
New tables can be created manually or together with a data import.
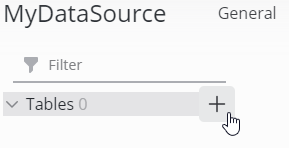
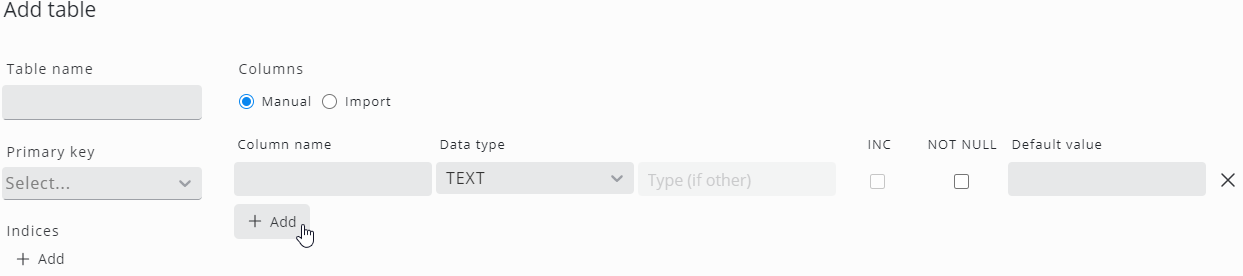
Click the + icon next to the Tables group to open the Add table dialog:
To define a table manually, click the respective Add button to add columns and indices and define names, data types …etc.
For further information, see the next section, Edit schema
To add a table with a data import, switch the Columns radio button to Import:
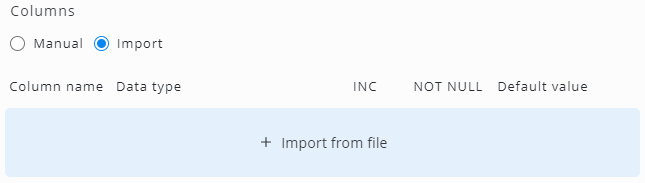
Click Import from file and open the required Excel (XLSX) or CSV file. The SKOOR software will now evaluate the columns and data types:

To ensure, the same file can be imported again with a future data load, the column names can not be changed. Define a table name (by default, the software takes the file name) as well as primary key, indices, data type and so on and click Create and import to start the actual table creation and data import.
Edit an existing table
Editing is only allowed by authorized users, for more info check Data scopes and write permissions
Edit schema
Only administrator users are able to edit a table's schema
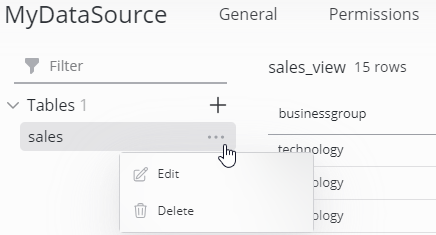
Click the options icon on a table item to edit its schema:
Use the Edit table dialog to actually change the table name, primary key, indices or columns in the database:

Setting | Description |
|---|---|
Table name | The name of the table |
Primary key | Define a primary key from a single or multiple columns |
Indices | Define single or multicolumn indices for the current table |
Columns | Define column name, data type and default value. Switch on or off autoincrease and if a column is nullable |
Edit Data
Table data can be edited while views, materialized views etc. are read only.
Just click into a column of a specific record to edit its data or delete a record using the respective recycle bin icon. Several changes can be made at once and will be marked by a color change and an undo option at the left.

Text field and text area have additionally the option of setting their value to NULL, this can be done by clicking the X icon that appears when hovering over such a field.
 |  |
Click Save changes to persist the data.
Delete table
Click the options icon on a table item and select Delete to delete it.
Export/Import in Data Sources
Export data
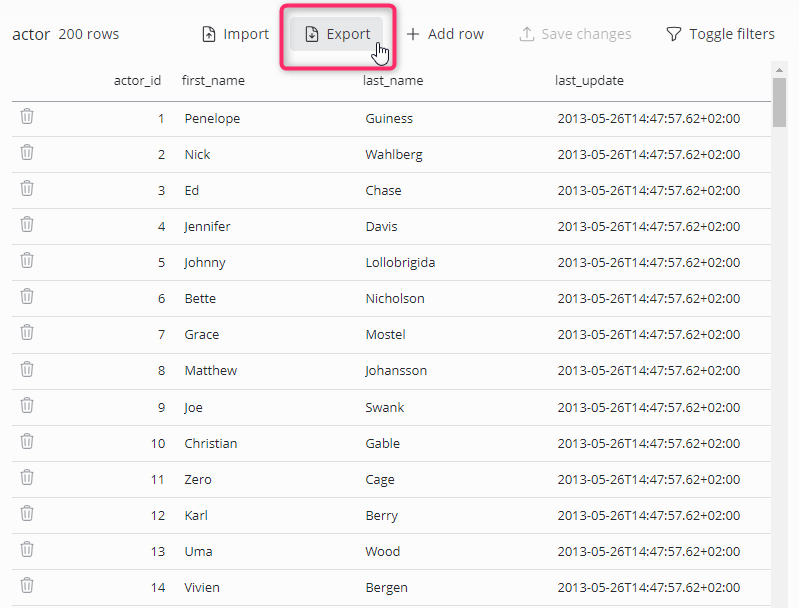
Data can be exported to a CSV file by clicking the Export button. The resulting file will contain only data as displayed in the preview, meaning that the defined scopes are applied.
Data will be exported UTF-8 encoded
Import data
The file size is limited to 100MB for CSV and 2MB for XLSX
Tables can be created directly while importing data. Visit the Create/Import a table section for details
Excel (XLSX format only) and comma-separated (CSV) files can be imported to replace or update a table. Click the Import button to open the dialog:
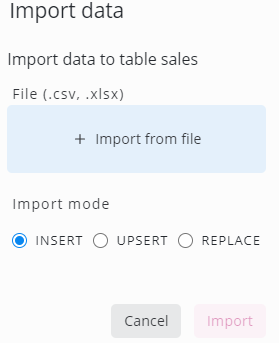
First, click Import from file to open a file. After that, select one of the following import modes:
INSERT: Insert all records from the file. Duplicates are inserted if the table definition allows it
UPSERT: Insert all records from the file. If a record already exists, it will be updated. A primary key must be defined on the table for this case
REPLACE: Existing data will be truncated before the data is loaded from the file
Create a script data source (deprecated)
Script DataSources are deprecated and users are discouraged from using them
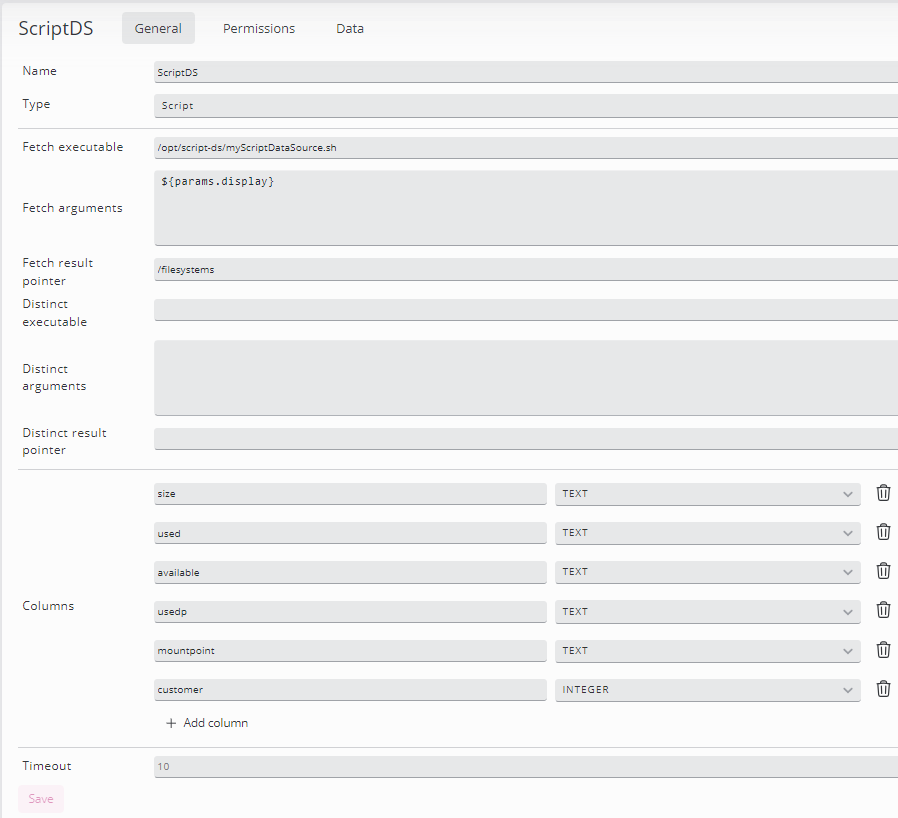
If the data source Type is changed to SCRIPT, the configuration parameters change. Now, a script can be configured together with any parameters needed to generate an output suitable for SKOOR dashboards.
The script output must be formated in JSON
Parameter | Description |
|---|---|
Name | Data source name. This name will be available in the widget settings when the Search type is set to dataSource. The Table will always be set to STDOUT:  |
Fetch executable | Fully qualified path to the program or script that generates the data. This program must be available on the system where the SKOOR web service is installed |
Fetch arguments | Command line arguments of the program, one argument per line. Any parameters set in the target widget can be passed to the script as well as arguments set directly in this field. Example: the URL parameter display is configured as Search query in a table widget:  The same parameter can now be passed to the data source script as well as other arguments, for example the value "123":  |
Fetch result pointer | If only a subset of the JSON string result of the program is needed in the dashboards, a JSON pointer must be set. The following example JSON string is generated by a program (formated for readability): {
"host": "myhost",
"filesystems": [
{
"size": "51G",
"used": "22G",
"available": "27G",
"usedp": "46%",
"mountpoint": "/"
},
{
"size": "17G",
"used": "45M",
"available": "16G",
"usedp": "1%",
"mountpoint": "/home"
}
]
}
Only the filesystems array will be displayed on a dashboard. So the JSON pointer /filesystems must be set as fetch result pointer:  If all objects of a JSON string should be displayed, set the fetch result pointer to "/". |
Distinct executable | If a script data source will be used for a filter matrix widget, a JSON array with unique values will be needed. The script or program configured here must return such an array |
Distinct arguments | See fetch arguments |
Distinct result pointer | See fetch result pointer |
Columns | The JSON fields of the script output must be configured as columns to be available as such in the dashboard widgets |