Edit revaluation
The Edit revaluation function allows overlaying one of the following to an object's history for a specified time range:
Feature | Description |
|---|---|
Maintenance | Sets an object under maintenance, either for already existing measurements in the past or for maintenance windows planned in the future. When maintenance is set in the past, for already existing measurements, it is added as an additional history layer on top of the original measurements. The original object state is not changed. When maintenance is set for a time range in the future, the maintenance state (e.g. Maintenance OK) will be the actual state of the object once the start time of the maintenance was reached, until the end of the maintenance window is reached or until the maintenance is deleted. The maintenance already elapsed between the maintenance start time and the deletion of the maintenance cannot be removed because unlike maintenance for the past, it is not a history overlay but part of the object's state history. When an object is under maintenance, no alarms originating from this object are sent. |
Adjustment | Sets an object to a specified state (OK, Warning, Minor or Major) for past measurements. This is useful in cases were measurements are incorrect. One can adjust the state of an object from Ok to Major if end users weren't able to work during a specified time but the SKOOR measurements didn't reflect that correctly. On the other hand one can adjust a Major state to OK if the SKOOR instance is the service provider, the outage was caused by the customer and it was agreed that a particular incident shouldn’t affect SLA reporting. Adjustments are added as an additional layer on top of the original measurements. The original object state is not changed. |
Comment | Adds a comment to an object's state history during a specified time range in the past. E.g. during a specific outage. This comment can then be reported within PDF reports. Comments are added as an additional layer on top of the original measurements. The original object state is not changed. |
Validation | Adds a validation to an object's state history during a specified time range in the past. Validations are added as an additional layer on top of the original measurements. The original object state is not changed. |
Add a Maintenance or Adjustment to the SLO connected to an SLC so that the SLC can be recalculated based on the revaluation.
When selecting Edit revaluation from an object's dropdown list, the following dialog is shown:
Filter settings
The first step is to choose the Type of revaluation. The default type is Maintenance.
Selecting the Show all types in list checkbox lists also revaluations of other types in the Revaluation list, not just the currently selected revaluation type.
The Time range selector allows specifying the time range for which to show revaluations in the Revaluation list.
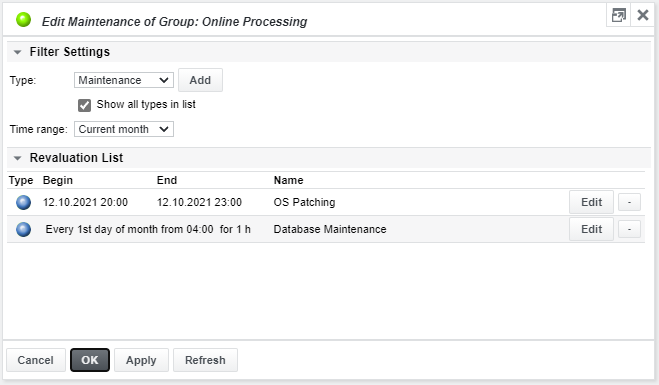
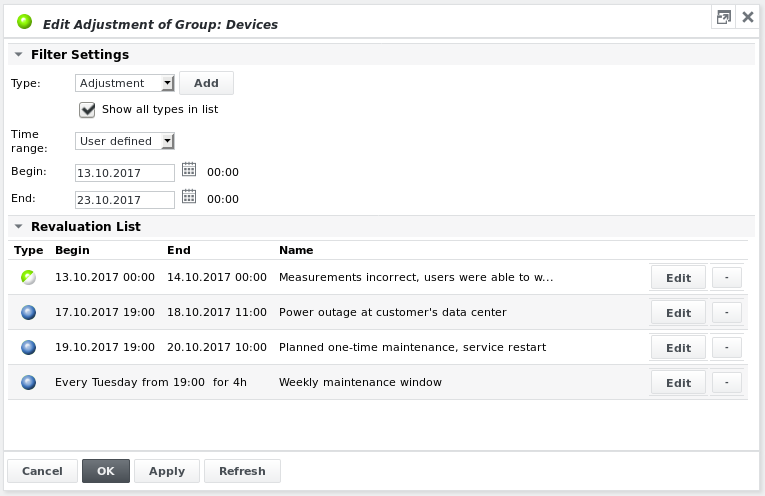
Revaluation list
The Revaluation list shows revaluations already added to the current object or to its parent or child objects (depending on object type).
Maintenance
To add maintenance to an object, choose Maintenance as revaluation type and click Add. The Edit maintenance dialog is shown:
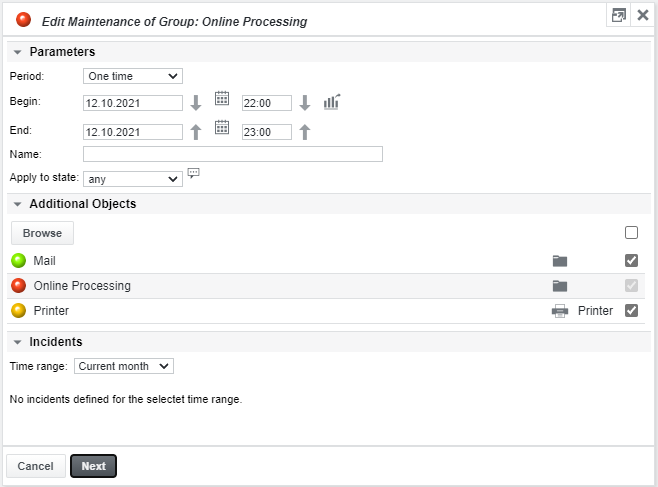
Parameters
Period | Choose between one of the following maintenance periods: |
Begin/End (for One time period) | Enter a begin and end date/time either
Use the Up/Down arrow buttons to set the end date to the begin date and vice versa. |
From/For (for Every day period) | When Every day is selected as period, specify the starting time and duration for daily maintenance windows: 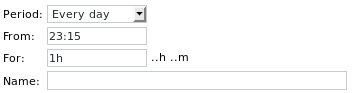 |
Every/From/For (for Every week period) | When Every week is selected as period, specify the weekday, starting time and duration for weekly maintenance windows: 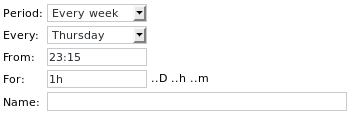 |
Every/From/For (for Every month period) | When Every month is selected as period, specify the day, starting time and duration for monthly maintenance windows: 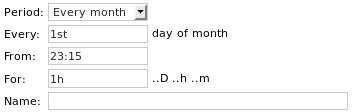 |
From schedule | When From schedule is selected as a period, the parameters from the schedule will be copied to the maintenance definition.  |
Name | Description of the maintenance. This will be shown in state history graphs and/or reports. |
Apply to state | Only for maintenance in the past: Set maintenance for the selected state (Warning, Minor, No data or Major) and worse
|

Additional objects
To apply the maintenance to additional objects, click the Browse button and select each additional object using its checkbox. Previously browsed objects are also displayed in the list and can be selected without browsing for them.
Incidents
Existing incidents that were recorded during the specified time range are shown in the Incidents list. These can be selected and assigned to the maintenance:

See Incidents in the admin section for further information on how to add incidents. If incidents should be displayed in PDF reports, they need to be related to outages using Comments.
Overview
After clicking Next the overview page is shown:
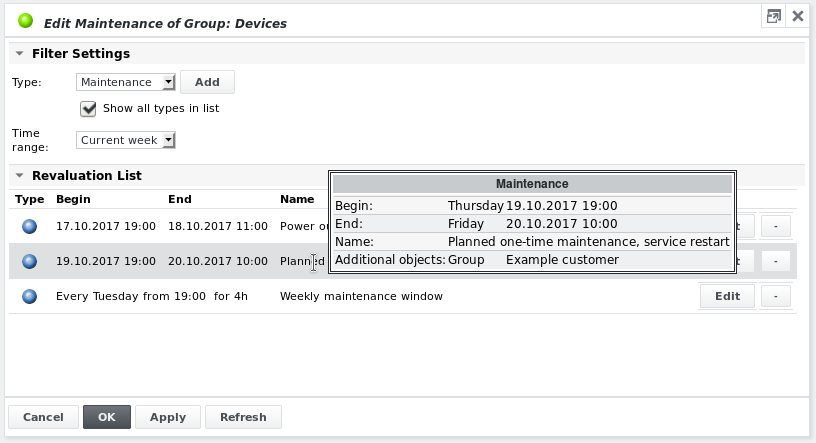
Revaluation details and additional objects are displayed as popup information in the revaluation list when hovering over it with the mouse.
Click OK to actually add the maintenance.
Adjustment
To adjust the state of an object, choose Adjustment as revaluation type and click Add. The Edit adjustment dialog is shown:
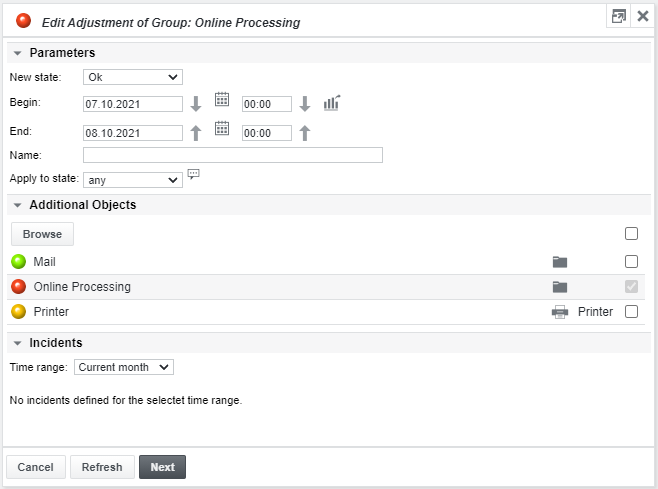
Parameters
New state | Choose between one of the following states: |
Begin/End | See Parameters table of Maintenance section above |
Name | Description of the adjustment. This will be shown in state history graphs and/or reports |
Apply to state | Set an adjustment for the selected state (Warning, Minor, No data or Major) and worse
|
Additional objects
See Additional objects subsection of Maintenance section above.
Incidents
See Incidents subsection of Maintenance section above.
Overview
After clicking Next the overview page is shown:
Revaluation details and additional objects are displayed as popup information in the revaluation list when hovering over it with the mouse.
Click OK to actually add the adjustment.
Comment
To add a comment to an object, choose Comment as revaluation type and click Add. The Edit comment dialog is shown:
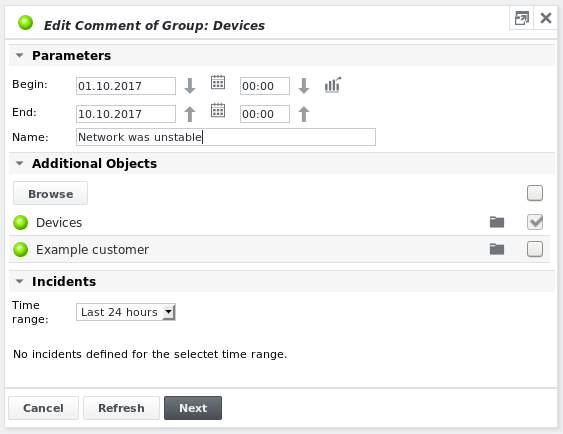
Parameters
Begin/End (for One time period) | See Parameters table of Maintenance section above |
Name | The comment itself. This will be shown in state history graphs and/or reports. |
Additional objects
See Additional objects subsection of Maintenance section above.
Incidents
See Incidents subsection of Maintenance section above.
Overview
After clicking Next the overview page is shown:
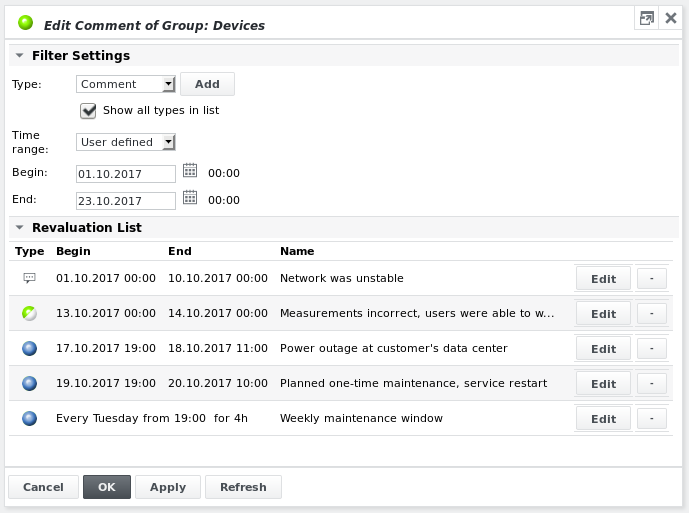
Revaluation details and additional objects are displayed as popup information in the revaluation list when hovering over it with the mouse.
Click OK to actually add the comment.
Validation
To add a validation to an object, choose Validation as revaluation type and click Add. The Edit validation dialog is shown:
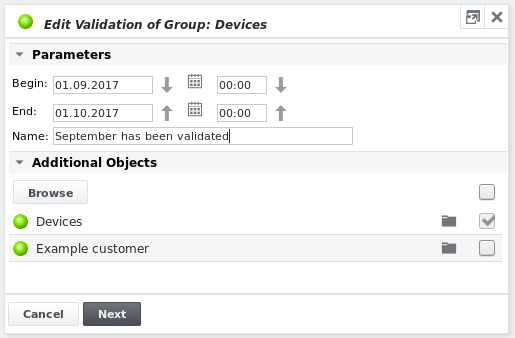
In the example above the service provider and customer agreed on the status of the object for the month September. Therefore the whole period is validated.
Parameters
Begin/End (for One time period) | See Parameters table of Maintenance section above |
Name | The description of the validation itself. |
Additional objects
See Additional objects subsection of Maintenance section above.
Overview
After clicking Next the overview page is shown:
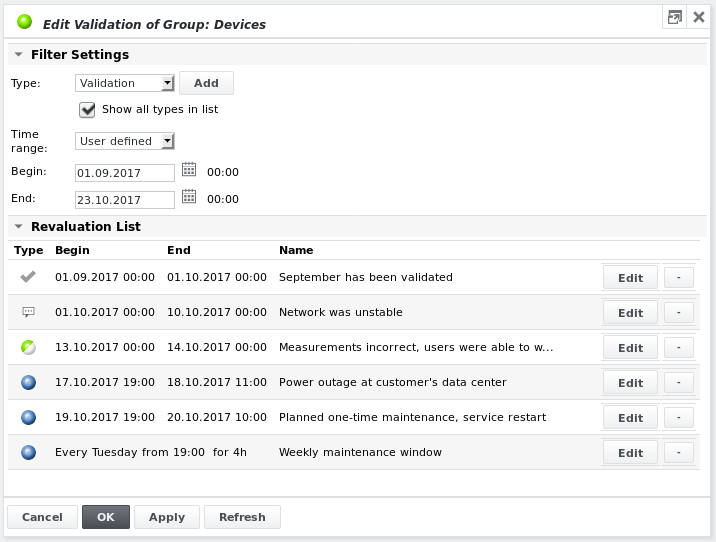
Revaluation details and additional objects are displayed as popup information in the revaluation list when hovering over it with the mouse.
Click OK to actually add the validation.
Revaluations in state history
Revaluations are visible in the state history graph. The following figure shows the state history of the Devices group to which the above revaluations were added:
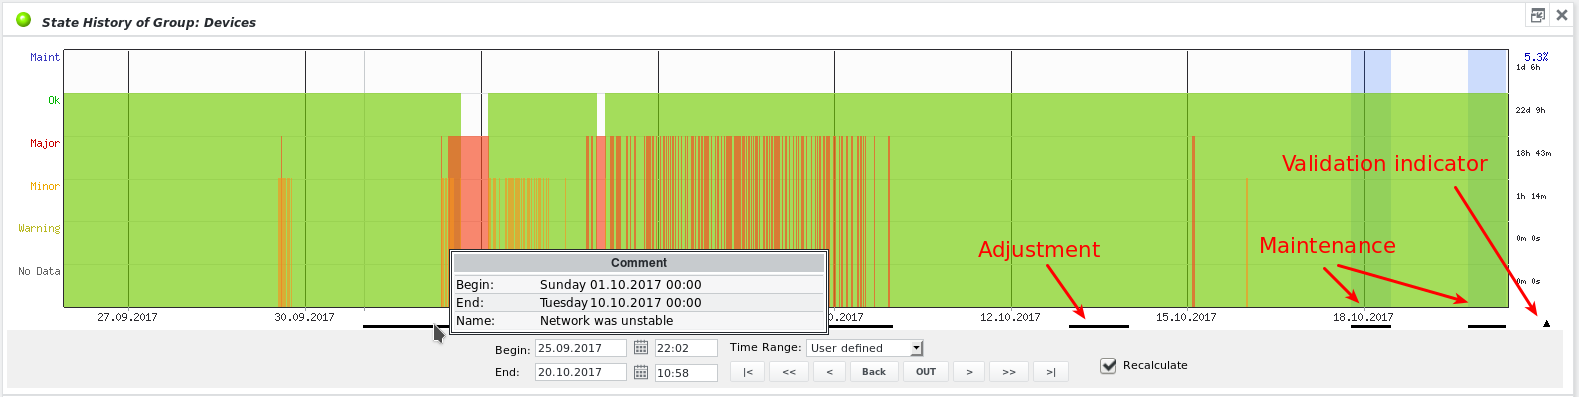
The Recalculate checkbox must be selected otherwise the revaluations are not shown.
The black bars below the graph represent the maintenance and adjustment revaluations. When hovering over the bars, details of the revaluation are shown.
Maintenance is indicated with a blue overlay colour.
When hovering over the validation indicator in the lower right corner the validation details are shown:

Deleting a revaluation
Revaluations can be deleted by clicking the minus (-) button to the right of each revaluation in the Revaluation list.
Maintenance propagation rules
The following rules describe upward and downward propagation of maintenance.
Downward propagation
Maintenance set on a group or device object is propagated downward to all child objects that support maintenance:
jobs
groups
devices
SLOs (only to the SLO itself, not any of its child objects)
Maintenance set on a collector object (below /root/Collectors) is propagated downward to all child objects that support maintenance:
jobs
groups
devices
SLOs
No downward propagation
Maintenance set on an SLO object is NOT propagated downward to any of the child objects
Maintenance set on a batch job is NOT propagated downward to any of the child jobs
Upward propagation
Maintenance set on a job object is propagated upward to its parent device
Maintenance set on a job object is propagated upward to its parent SLO, but only if there is no worse state on other objects below the SLO and if the Ignore maintenance flag is not set on the SLO
Maintenance set on an SLO object is propagated upward to its parent SLO, but only if there is no worse state on other objects below the SLO and if the Ignore maintenance flag is not set on the SLO
Maintenance set on a device object is propagated upward to its parent SLO, but only if there is no worse state on other objects below the SLO and if the Ignore maintenance flag is not set on the SLO
No upward propagation
Maintenance set on a device object is NOT propagated upward to its parent group
The following example describes maintenance propagation on a grouped SLO tree structure where maintenance was set on both Group 1 and Group 2:
 Group 1
 SLO 1
SLO 1- SLO 2 (with Ignore maintenance flag set)
- SLO 3
- SLO 4
- Group 2
- SLO 4 (linked from above)
Group 1 pushes its maintenance downwards to SLO 1 but not further.
Group 2 pushes its maintenance downwards to SLO 4 which is linked to SLO 3
SLO 4 pushes its maintenance upwards to SLO3 but not further due to the Ignore maintenance flag set on SLO 2
When the whole SKOOR system needs to be placed under maintenance, simply add maintenance to all its collectors below /root/Collectors.