Dashboards Guide
Dashboards could either be created, imported, or copied from existing dashboards.
Create a new dashboard
Use the + button above the navigation or dashboard-group edit menu to create a new dashboard.
.png?api=v2)
Use the "Add Dashboard" action in the dashboard-group edit menu
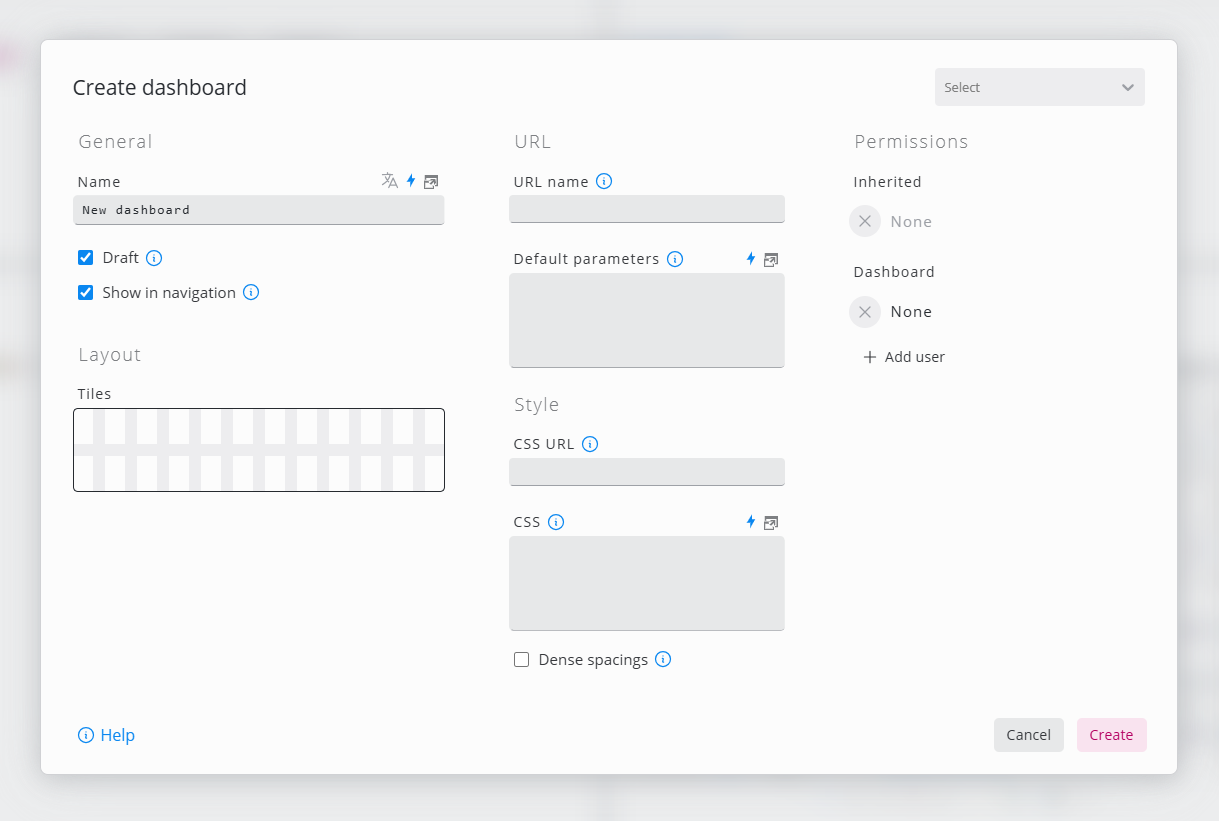
The "Create Dashboard" dialog will open, edit the properties of the new dashboard (see Edit dashboard)
Save
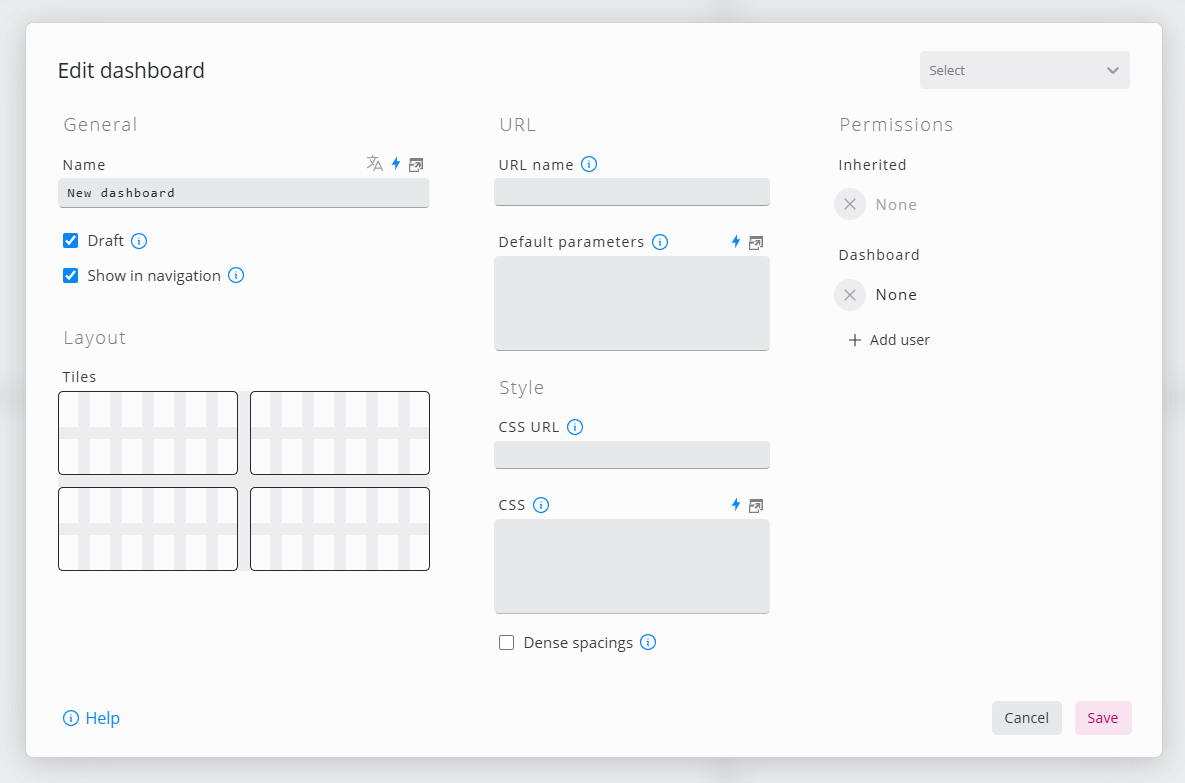
Edit dashboard
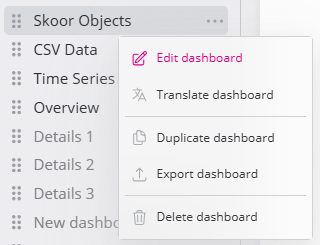
Open the dashboard edit dialog by clicking on the cog icon in the navigation next to the dashboard to edit. Then click on Edit Dashboard.
Edit Dashboard dialog
Setting | Description |
|---|---|
Version (dropdown) | 5 versions of the dashboard configuration are kept to be able to roll back changes. Deleted or moved widgets are not restorable this way. |
Title | Name of the dashboard. This name will be visible in the page header. |
Draft | Marking a dashboard as Draft hides it from the navigation area. However, the dashboard can still be accessed via its direct URL. |
Show in Navigation | Controls whether the dashboard is visible in the navigation. Dashboards not listed in the navigation can still be linked to. |
URL Name | Usually dashboards can be accessed using a numerical ID (e.g. 329). Using this option a human readable name can be assigned. Please note that only valid URL characters should be used (no spaces, special characters or umlauts). |
Default Parameters | Controls the default URL parameters passed to the dashboard. Can be used to control filters, dateranges and more. |
CSS URL | The URL of a custom stylesheet used to change the look of the dashboard. |
CSS | The content of a custom stylesheet used to change the look of the dashboard. |
Dense Spacing | If this option is set, all spacings within the dashboard are smaller. This allows for more content to be visible at once. |
Permissions | Access permissions for this dashboard. Permissions are inherited from the dashboard group and can be extended by additional users or user groups. See Dashboard permissions for details |
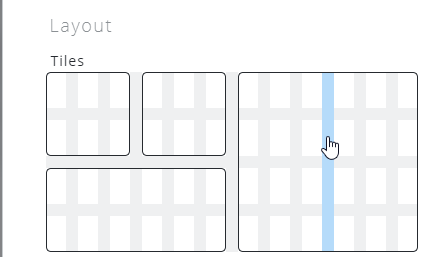
Layout
Click the lines of the layout section to define the dashboard tiles.
Copy a dashboard
Dashboards can be copied as follows
Create a duplicate of the Dashboard by clicking on the Duplicate dashboard button
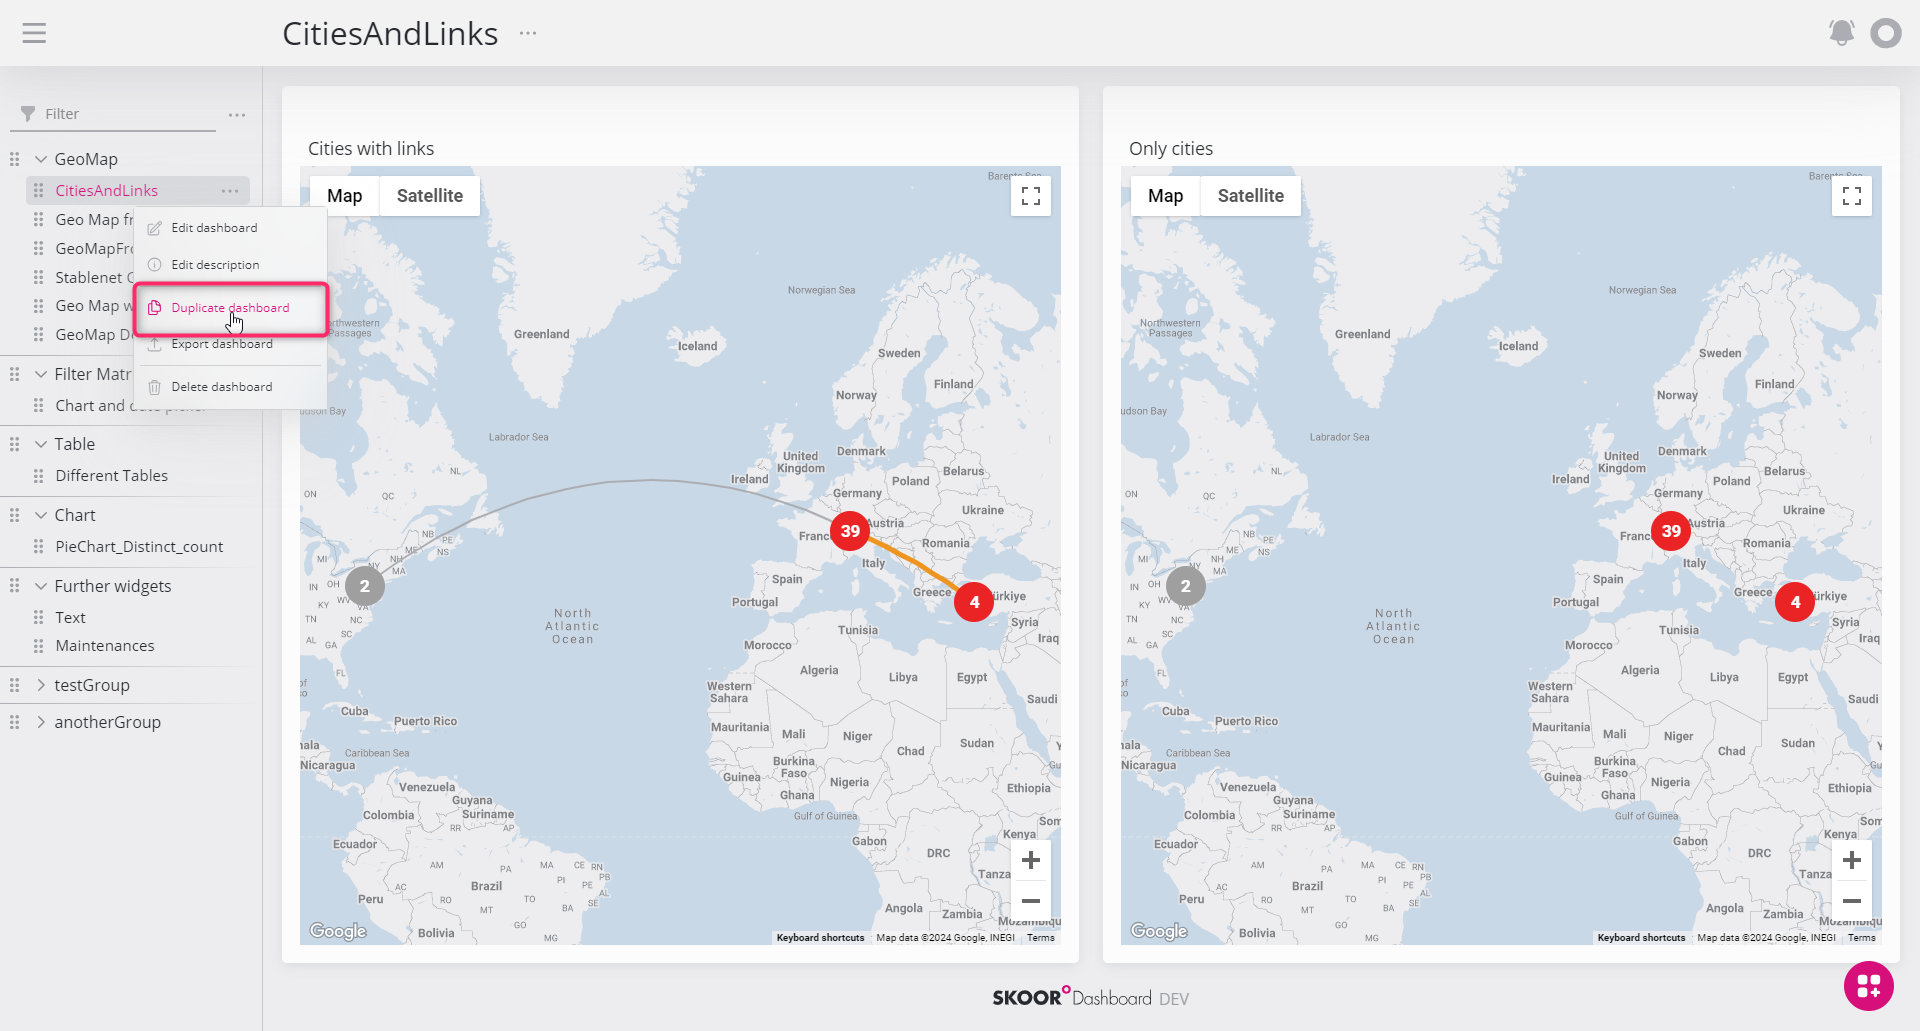
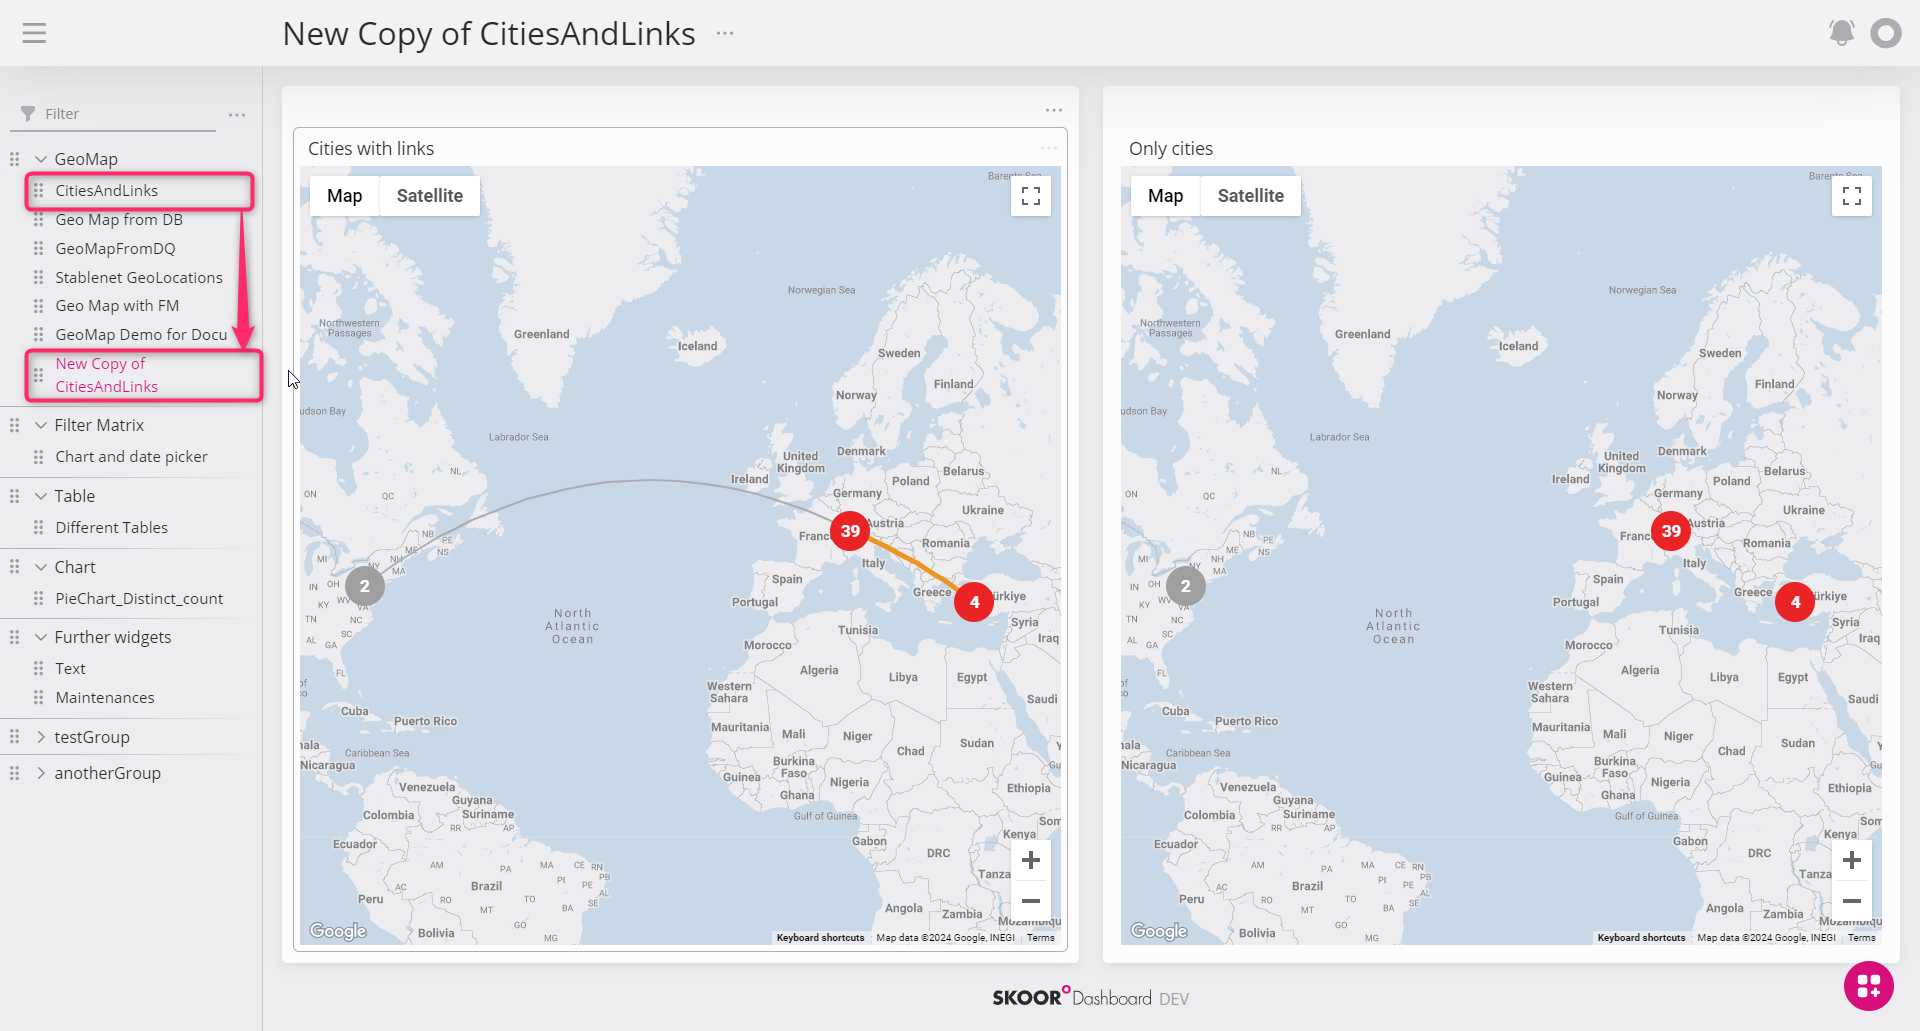
The Create dashboard dialog would open, allowing the user to customize the new Dashboard (e.g. change the name of this new dashboard)
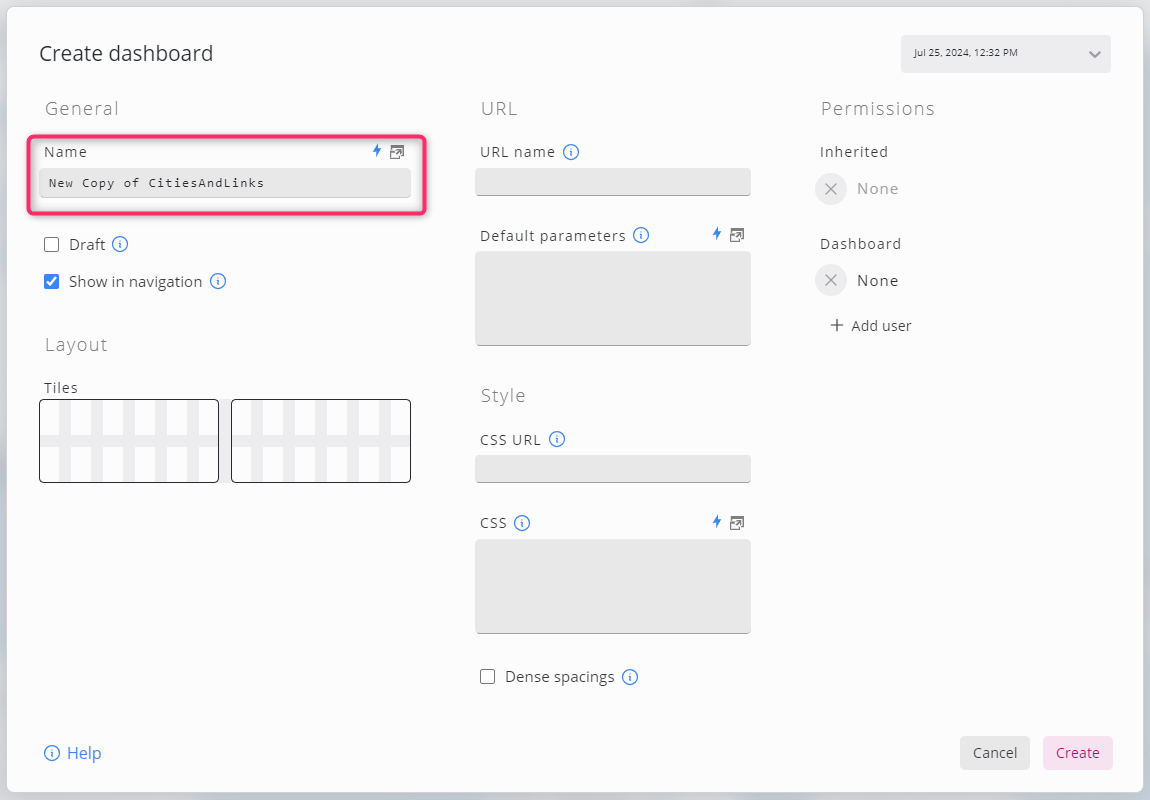
Finish copying by clicking on the Create button
Edit settings according to Edit dashboard
Save
Besides dashboards tiles and widgets can also be copied and pasted into another tile.
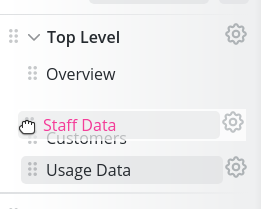
Move a dashboard
Dashboards can be ordered within their group or placed in another group by dragging and dropping items as desired.
Export/Import Dashboards
Export
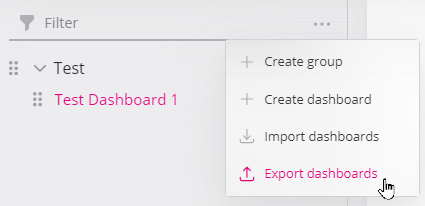
Dashboards, dashboard groups, or even all dashboards can be exported by clicking the Export dashboards item in the dashboard, dashboard group or top menu in the navigation section:
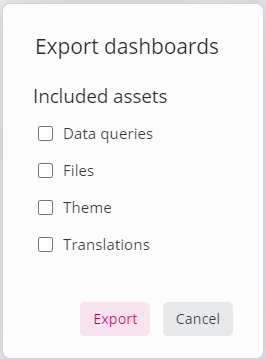
Export options
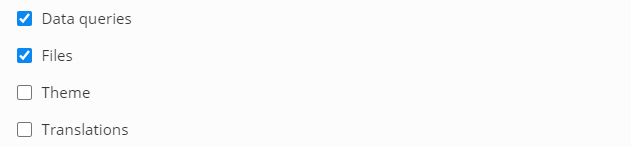
In the next dialog, select optional items to be included in the export:
Option | Description |
|---|---|
Data queries | Includes dataqueries used in the exported dashboard or dashboard group |
Files | Includes files used in the dashboard or group (e.g. images, content located in the Settings / Files section) |
Theme | Includes stylesheets (CSS), logos etc. defined in Settings / Theme |
Translations | Includes text-fragments defined in Settings / Translations |
Click Export. In the following dialog, the dashboard or group content can be copied to the clipboard or saved in JSON format.
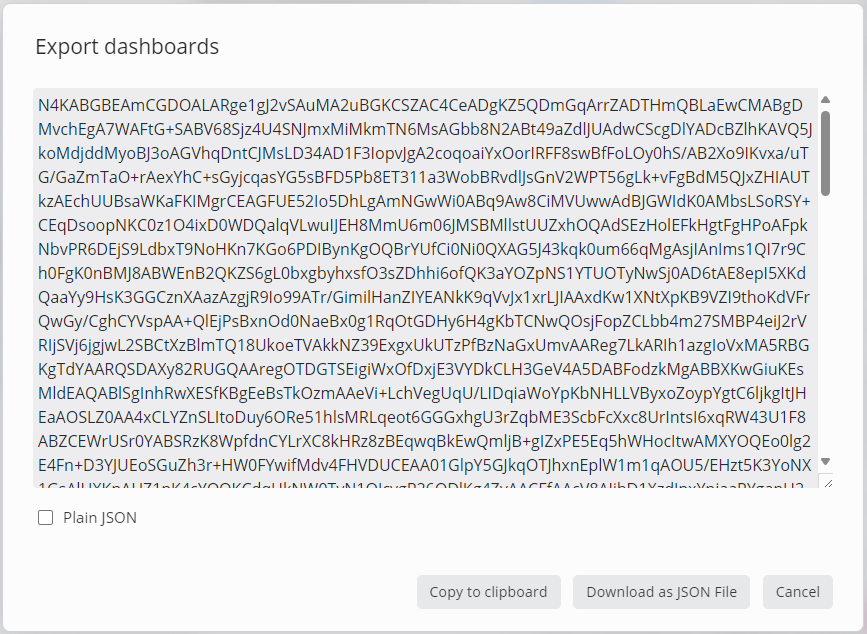
The Plain JSON checkbox uses JSON as the export format instead of the default encoded format when the export is copied to the clipboard. This is mainly intended for debugging purposes.
Exporting Dashboards using the REST API
To export dashboards regularly (e.g. for versioning or backup), the SKOOR REST API provides dedicated endpoints.
Import
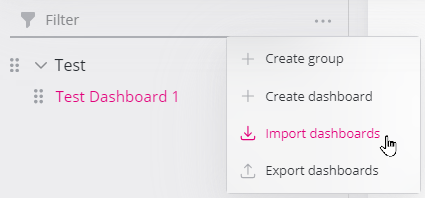
To import dashboards, open the menu of a dashboard group or the top menu in the navigation section and click Import dashboards:
Copy and paste the content of a dashboard export from the export dialogue or a file into the following dialog:

The import dialog will now show the import options and list all changes (actions) that will be performed by the import.
Options (see export options for details):
Actions (example with a data query and two dashboards in a group):
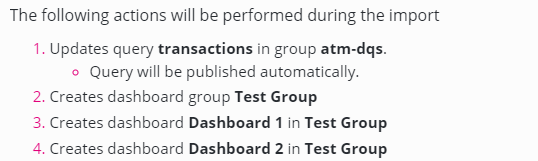
Select or deselect options as required and verify the import actions. Click the Import dashboards button to process the import.
Dashboard permissions
Dashboard permissions can be viewed and managed directly in the Dashboard- and Dashboard Group Edit Dialogs.
The permissions dialog looks slightly different for Dashboard Groups and Dashboards
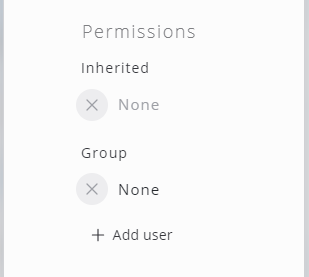
Dashboard Groups
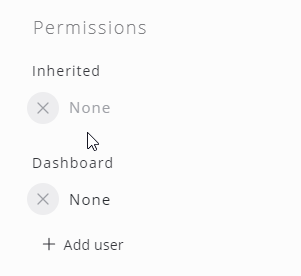
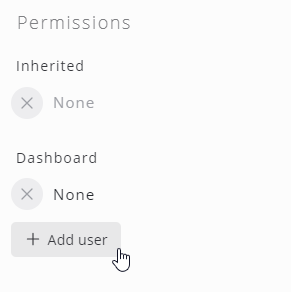
Dashboard
Setting | Description |
|---|---|
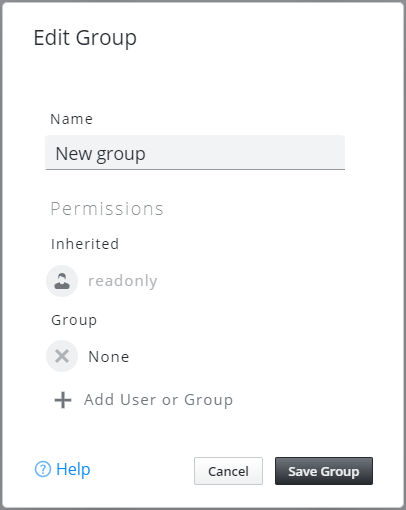
Inherited | Permissions inherited from the parent element. For dashboard groups, this is the Dashboards group in the SKOOR Engine. For single Dashboards its the Dashboard Group. These permissions can only be changed on the Dashboards Group. |
Group / Dashboard | Users or user groups that have access to this dashboard or dashboard group in addition to the inherited |
None | If Inherited and Group are set to None, no user except for ones with the role “admin” are allowed to access this group |
Change permissions
Click Add User to add permissions to a dashboard or dashboard group: 
Change edit permissions for a user or user group by clicking the edit button:
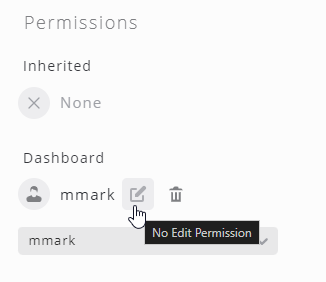
Click the trash icon to delete a user or user group permission.
Dashboard groups
Edit Dashboard Group dialog
For dashboard and dashboard group permissions, see Dashboard permissions.